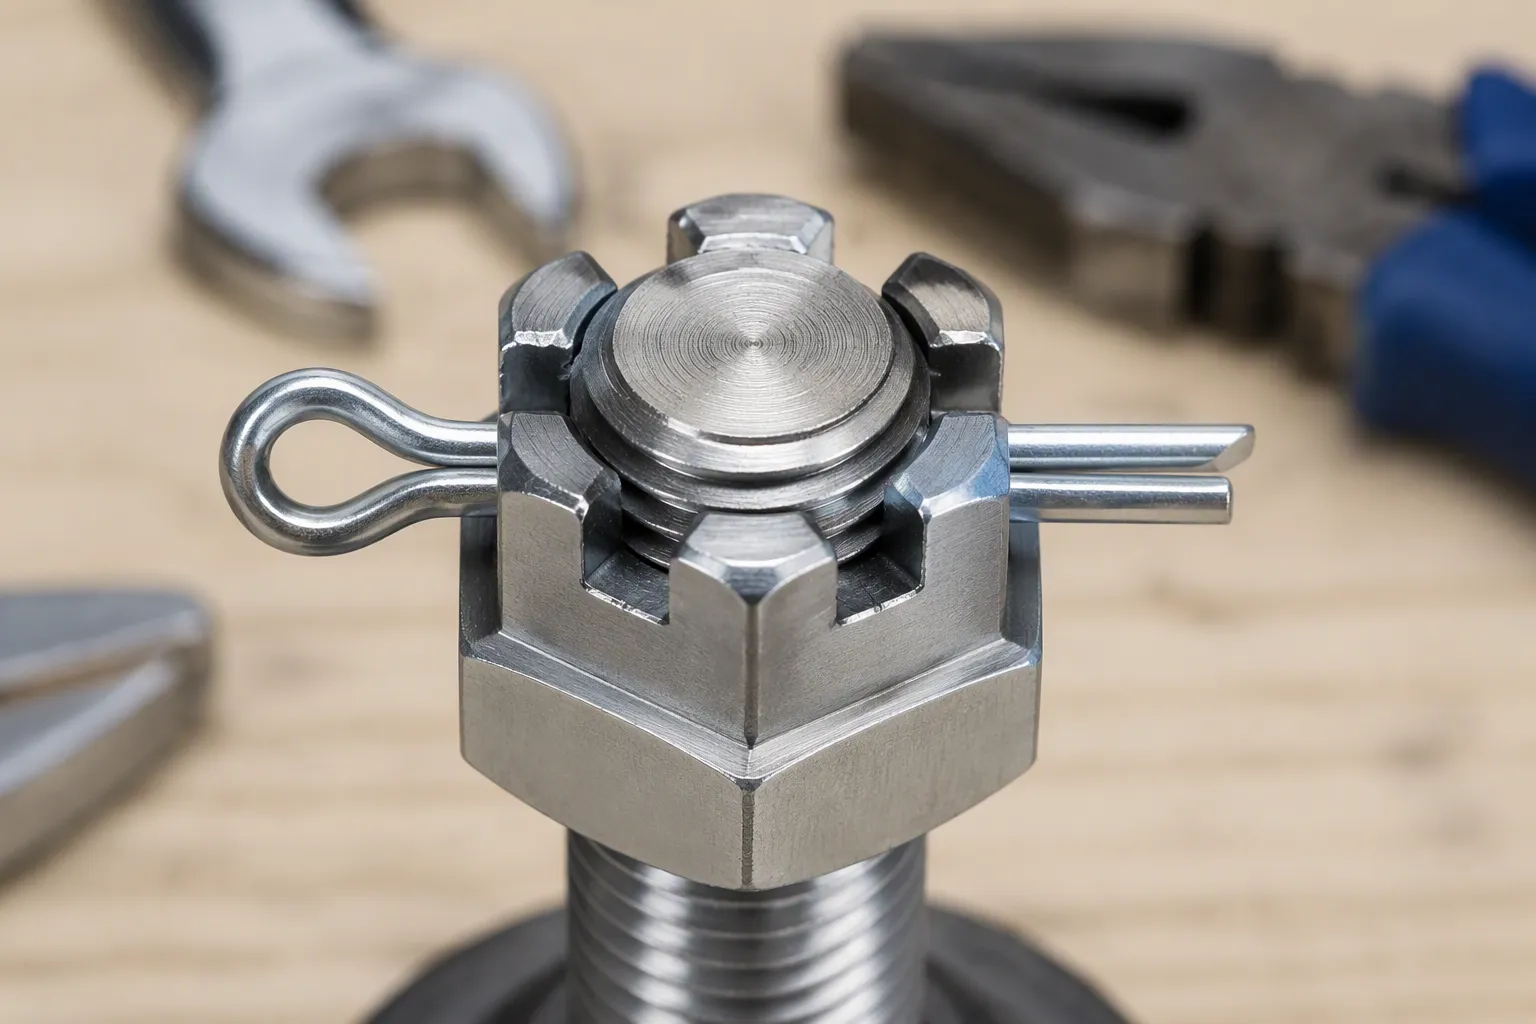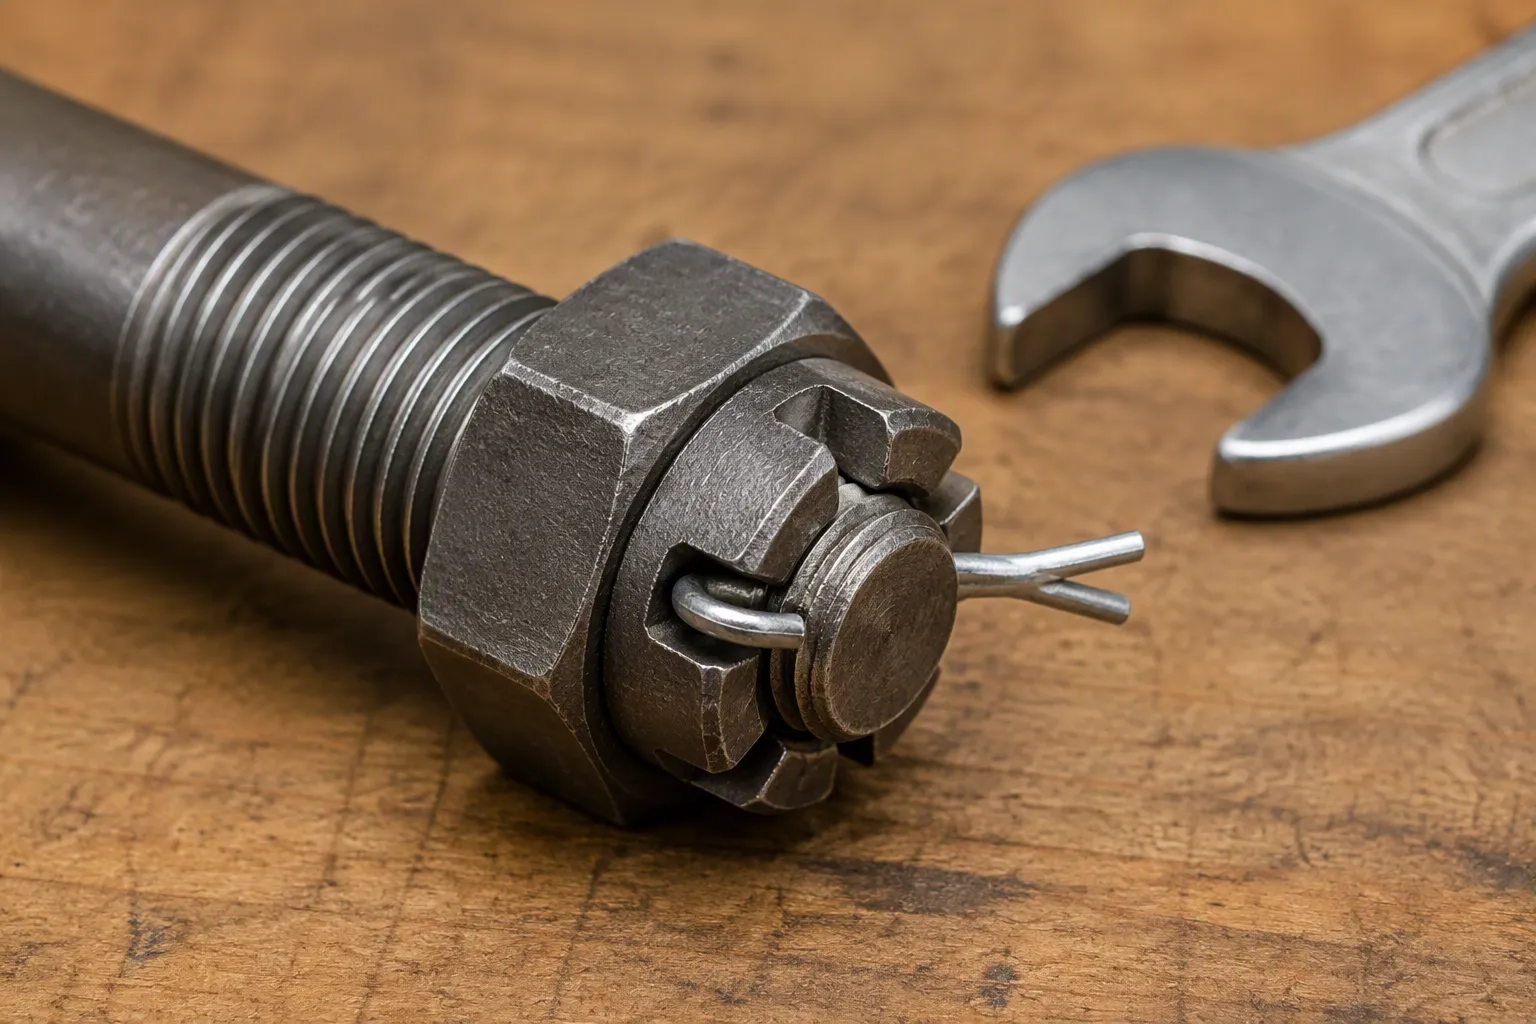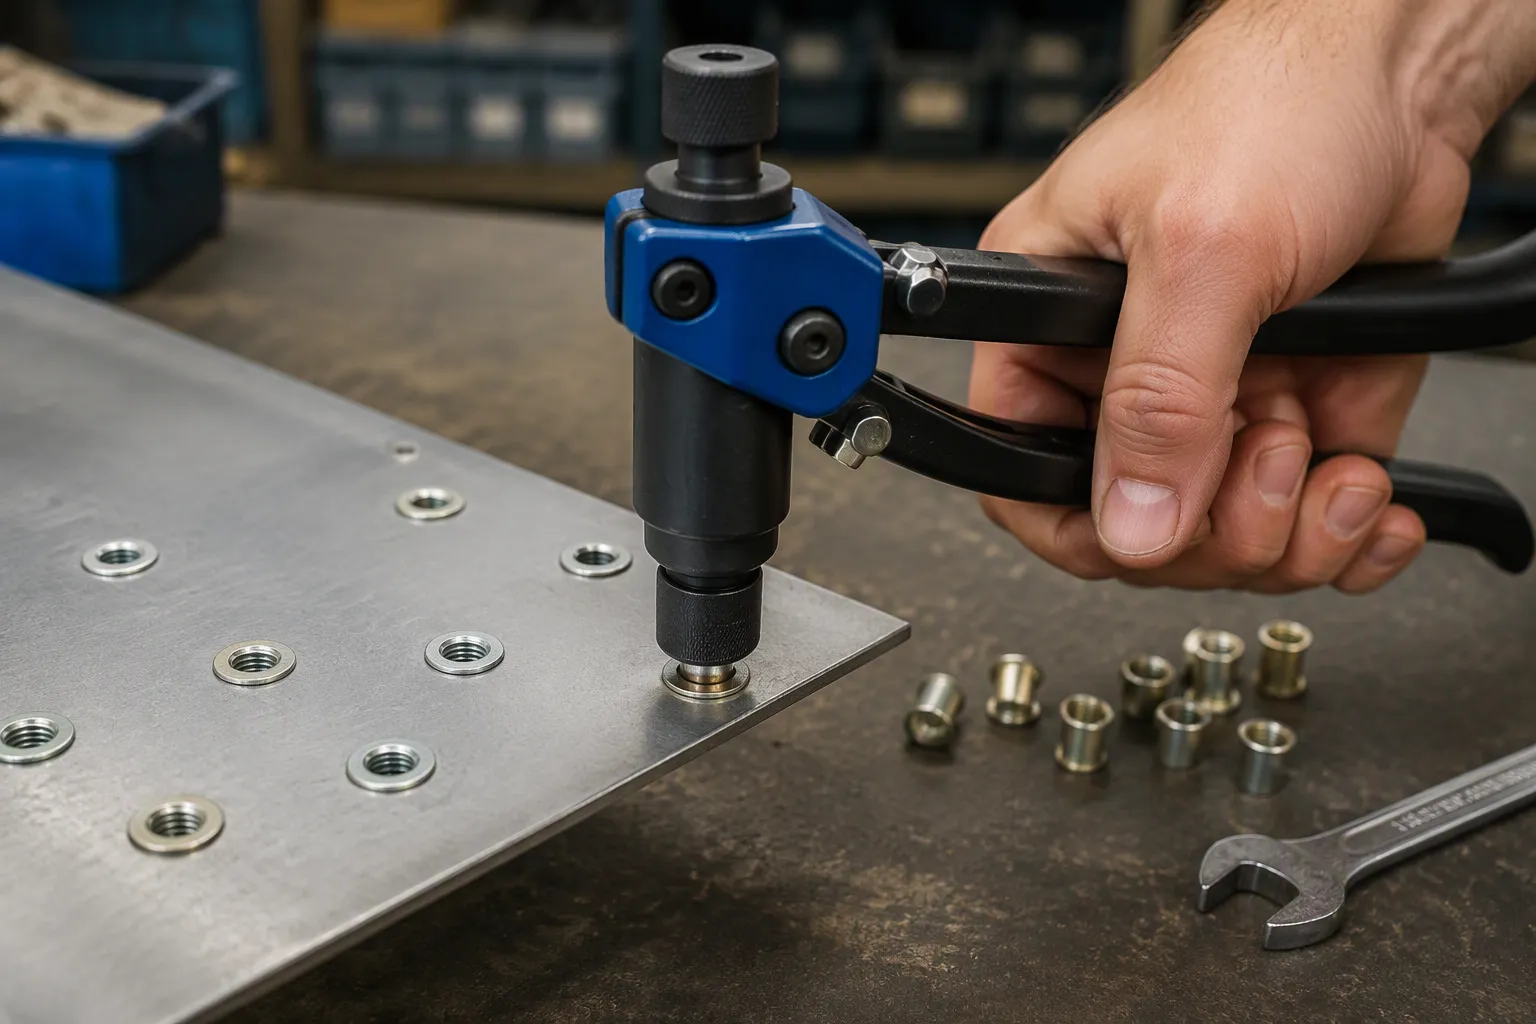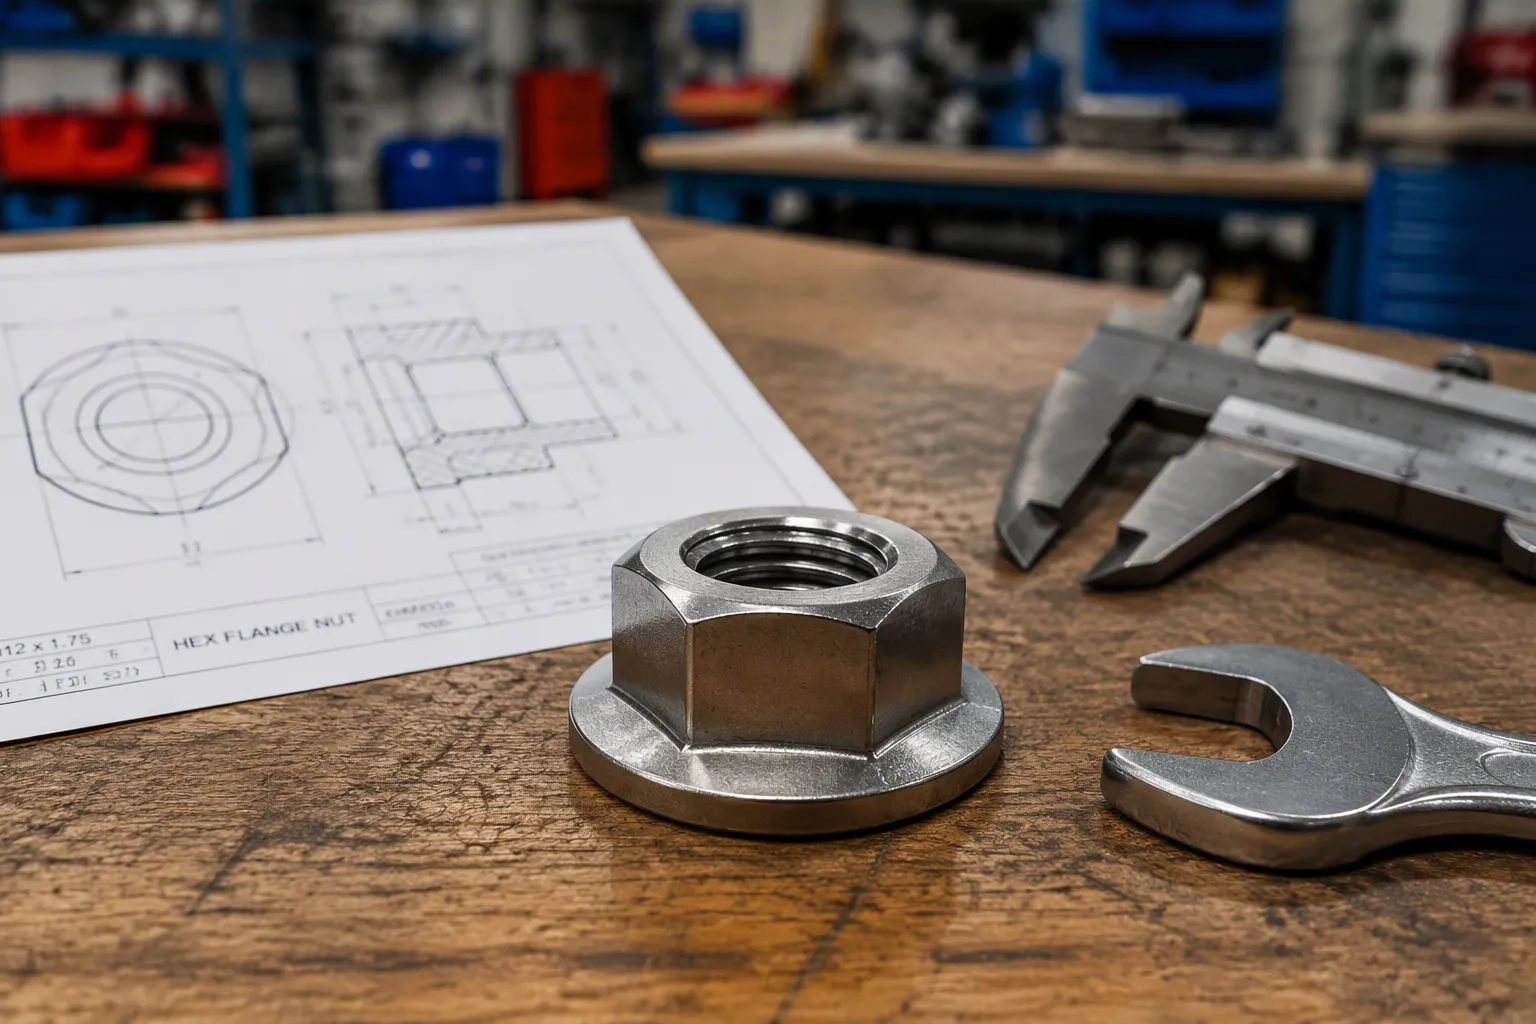

A مرساة الإسفين هو مرساة تمدد ميكانيكية شديدة التحمل مصممة لتثبيت العناصر في الخرسانة الصلبة. وتستمد قوة تثبيت المرساة من آلية بسيطة لكنها فعالة. فعندما يقوم المُركِّب بربط الصمولة، فإن ذلك يؤدي إلى سحب عمود المرساة إلى الأعلى. ويؤدي هذا الإجراء إلى توسيع مشبك التمدد الموجود في القاعدة، بحيث يثبت بإحكام في الخرسانة ويخلق تثبيتًا آمنًا يعتمد على الاحتكاك. سوق المثبتات الإسفينية الموثوقة وغيرها من مسامير التثبيت يتزايد بشكل مطرد.
نظرة على السوق: مسامير التثبيت التمددية الخرسانية 📈
- من المتوقع أن ينمو حجم السوق من $2,226.6 مليون في عام 2025 إلى $3,500 مليون بحلول عام 2035.
- ويعكس ذلك معدل نمو سنوي مركب (CAGR) يُقدَّر بـ 4.6%.
تتطلب العديد من المشاريع حلولاً محددة، ولهذا السبب فإن مُصنِّع أدوات التثبيت المخصصة يمكننا توفير مسامير تثبيت مخصصة.
ما هو المرساة الإسفينية؟ التركيب والمكونات
يبدو المثبت الإسفيني بسيطًا، لكن فعاليته تنبع من ثلاثة مكونات مصممة بدقة تعمل معًا. لكل جزء دور متميز في تكوين ربط آمن داخل الخرسانة. وفهم هذه البنية هو الخطوة الأولى لتقدير كيفية عمل هذه المثبتات القوية. ويضمن التصميم الموثوقية في مهام التثبيت الشاقة.
جسم المسامير الملولبة
العمود الملولب هو الجزء الرئيسي من المرساة الإسفينية. أحد طرفيه مدبب أو مخروطي الشكل، وهو الطرف الذي يُدخل في الخرسانة أولاً. أما الطرف الآخر فهو ملولب لتركيب صامولة وحلقة تثبيت. ويوفر هذا العمود الطويل الصلب طول المثبت وينقل الحمل من التثبيت إلى مجموعة المثبت. وتقوم الشركات المصنعة بإنتاج هذه المسامير من مواد متنوعة لتناسب الظروف البيئية المختلفة. تشمل الخيارات الشائعة للمواد ما يلي::
- فولاذ كربوني مطلي بالزنك
- الفولاذ الكربوني المجلفن بالغمس الساخن
- الفولاذ المقاوم للصدأ من النوع 304
- الفولاذ المقاوم للصدأ من النوع 316
يُعد اختيار المواد عاملاً حاسماً لضمان الأداء على المدى الطويل ومقاومة التآكل.
مشبك التوسيع
يُعد مشبك التمدد جوهر قوة تثبيت المرساة. فهذا المكون المعدني الصغير يلتف حول الطرف المدبب للعمود. وهو مصمم ليتوسع إلى الخارج عند سحب العمود لأعلى أثناء التركيب. وعندما يُضغط المشبك بقوة ضد المخروط المدبب، فإنه يضغط بقوة على جدران الثقب المحفور. ويؤدي هذا الإجراء إلى توليد قوة احتكاك شديدة تعمل على تثبيت المثبت في مكانه. ويتيح تصميم المشبك له التكيف مع شكل الثقب المحفور، مما يزيد من مساحة التلامس مع السطح إلى أقصى حد ويضمن ثباتًا قويًا.
الصامولة والغسالة
الصمولة والغسالة هما المكونان الأخيران اللذان يكملان عملية التجميع. يستخدم الفنيون الصمولة لتثبيت المثبت وتأمين التركيب. يؤدي ربط الصمولة إلى سحب العمود الملولب لأعلى، مما يؤدي إلى بدء عملية الإحكام في مشبك التمدد. وتؤدي الحلقة دورًا مهمًا من خلال توزيع الحمل الناتج عن الصمولة بالتساوي على سطح التركيب. وهذا يمنع تلف مادة التركيب ويضمن تثبيتًا آمنًا. وتُزوَّد المراسي الإسفينية عالية الجودة بـ الصواميل والحلقات المعدة مسبقًا للاستخدام الفوري.
الامتثال لمعايير الصناعة ⚙️ تنتج الشركات المصنعة ذات السمعة الطيبة مسامير التثبيت الإسفينية التي تتوافق مع المعايير الصناعية المعمول بها، مثل ASTM وDIN وISO. ويضمن ذلك أن المواد والأبعاد الخاصة بالمجموعة الكاملة، بما في ذلك الصمولة والحلقة، تستوفي متطلبات الجودة والأداء الصارمة من أجل تركيب آمن.
كيفية عمل مثبتات الإسمنت الإسفينية: تحليل ميكانيكي
تستمد مثبتات الإسفين الخرسانية قوة تثبيتها من عملية ميكانيكية بسيطة لكنها فعالة. تعمل هذه العملية على تحويل الطاقة الدورانية الناتجة عن شد الصامولة إلى قوة احتكاك هائلة داخل الخرسانة. ويتضمن هذا التسلسل خطوات دقيقة، بدءًا من إدخال المثبت وصولاً إلى تفعيل آلية تمدده. إن فهم هذا التفصيل يوضح سبب كون هذه المثبتات تُعتبر موثوقة في الاستخدامات الشاقة.
الإدخال في الفتحة
تبدأ عملية التركيب بإدخال المثبت في ثقب تم حفره مسبقًا. ويعتمد نجاح عملية التركيب بأكملها على قطر الثقب. يجب أن يكون قطر الثقب المحفور في الخرسانة مطابقًا تمامًا لقطر المثبت المراد تركيبه. على سبيل المثال، يتطلب المثبت الإسفيني مقاس 3/8 بوصة ثقبًا مقاس 3/8 بوصة. هذا التفاوت الدقيق ليس مجرد توصية؛ بل هو شرط أساسي لتحقيق قيم الثبات المحددة للمرساة. ويستخدم المُركِّبون مثاقب ذات رؤوس كربيدية مطابقة لمعايير ANSI التي تم تصميم حجمها بحيث يتناسب مع المثبت، مما يضمن أن توفر الفتحة الاحتكاك اللازم لتثبيت مشبك التمدد. يُعد الحجم غير الصحيح للفتحة أحد الأسباب الشائعة بسبب فشل التثبيت.
الضغط الصعودي الناجم عن تشديد السياسة النقدية
بمجرد تثبيت المثبت في مكانه، يقوم المُركِّب بإحكام ربط الصمولة. ويؤدي هذا الإجراء إلى توليد قوة سحب قوية في الاتجاه الصاعد على العمود الملولب. وتعمل الخيوط الموجودة على المسمار كسطح مائل ملفوف حول أسطوانة، مما يوفر ميزة ميكانيكية كبيرة. ويسمح هذا المبدأ بتوليد قوة سحب محورية أكبر بكثير على جسم المثبت من خلال تطبيق قوة دوران (عزم دوران) صغيرة نسبيًا على الصامولة. ويمكن وصف العلاقة بين عزم الدوران المطبق وقوة السحب الناتجة رياضيًا.
- تُحسب الميزة الميكانيكية (MA) بالصيغة التالية: MA = π * D / P
- في هذه الصيغة:
- D يمثل قطر خيط المسمار.
- P يمثل خطوة الخيط (المسافة بين الخيوط).
- تؤدي هذه الميزة الميكانيكية إلى مضاعفة القوة المطبقَة بشكل مباشر، مما يولد قوة السحب القوية نحو الأعلى اللازمة لتثبيت المرساة.
عملية الإحكام
تعد القوة الدافعة للأعلى على الدبوس المحفز للخطوة النهائية والأكثر أهمية: عملية الإحكام. فمع تحرك الدبوس لأعلى، يتم سحب طرفه المدبب ذي الشكل المخروطي إلى داخل مشبك التوسيع. لا يمكن للمشبك أن يتحرك لأعلى مع المسمار لأنه ملامس بالفعل لقاع الثقب. بدلاً من ذلك، يُجبر المخروط المدبب مشبك التمدد على التمدد للخارج. ويضغط المشبك بقوة هائلة على الجدران الداخلية للثقب الخرساني.
أساس القوة: الاحتكاك 💡 تعتمد قدرة التحمل الكاملة لمثبتات الإسفين على هذه الخطوة الأخيرة. فالضغط الخارجي الناتج عن مشبك التمدد يولد قوة احتكاك هائلة بين المثبت والخرسانة المحيطة به. وهذا الاحتكاك هو ما يثبت المثبت الإسفيني في مكانه، ويمنعه من الانسحاب تحت الأحمال الثقيلة، ويضمن تكوين وصلة آمنة وموثوقة.
توليد قوة الاحتكاك
يولد تأثير الإحكام قوة تثبيت المرساة بشكل مباشر من خلال قوة احتكاك هائلة. وهذه القوة هي المقاومة الناتجة عندما يضغط مشبك التمدد الفولاذي على السطح الداخلي الخشن للثقب في الخرسانة. المبدأ بسيط: فكلما زادت قوة دفع المشبك للخارج، زاد الاحتكاك. ويعمل هذا الاحتكاك على طول المشبك، مما يخلق قبضة قوية تقاوم أي قوة سحب تُطبق على المثبت. وقد تم تحسين التصميم الكامل لمثبتات الإسفين الخرسانية لتعظيم هذا التفاعل الفردي الحاسم.
فيزياء التماسك: القوة العمودية والاحتكاك ⚙️ تتحدد قدرة التثبيت بناتج القوة العمودية (الضغط الخارجي الناتج عن المشبك) ومعامل الاحتكاك بين الفولاذ والمادة الأساسية. ويؤدي ارتفاع عزم الدوران عند التركيب إلى توليد قوة عمودية أكبر، مما يؤدي بدوره إلى زيادة مقاومة الاحتكاك.
هناك عدة عوامل تؤثر بشكل مباشر على مقدار قوة الاحتكاك التي يمكن أن يصل إليها المرساة:
- مقاومة الخرسانة للضغط: يوفر الخرسانة الأكثر صلابة والأعلى قوة سطحًا أكثر صلابة يتيح للمشبك التثبيت عليه، مما يتيح قوة احتكاك أكبر. أما الخرسانة الأكثر ليونة أو الأقل قوة فقد لا توفر نفس مستوى المقاومة.
- حالة الحفرة: من الضروري أن تكون الفتحة نظيفة وخالية من الغبار. فالحطام يعمل كمواد تشحيم، مما يقلل من معامل الاحتكاك ويضعف بشكل كبير من قوة تثبيت المثبت.
- عزم الدوران الصحيح: يُعد تطبيق عزم الدوران المحدد من قبل الشركة المصنعة أمرًا بالغ الأهمية. فالتطبيق بعزم دوران أقل من المطلوب لا يؤدي إلى تمدد المشبك بشكل كافٍ، في حين أن التطبيق بعزم دوران زائد قد يتسبب في تلف الخرسانة أو المثبت نفسه.
الدليل الكامل لتركيب المرساة الإسفينية
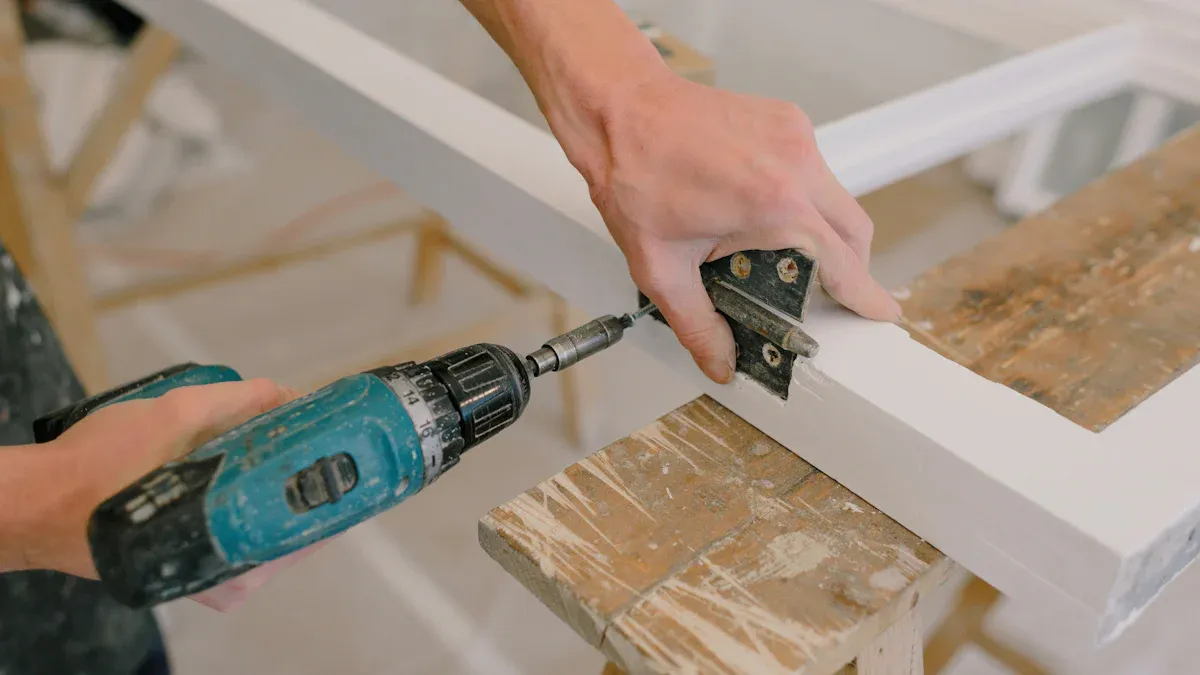
التركيب الصحيح لمثبتات الإسفين وهو أمر بالغ الأهمية لتحقيق أقصى قدرة تثبيت مقدرة للمثبت. وتتميز هذه العملية بطابعها المنهجي وتتطلب الاهتمام بالتفاصيل في كل مرحلة. إن اتباع تعليمات التركيب المنشورة من قبل الشركة المصنعة (MPII) ليس مجرد توصية؛ بل هو شرط أساسي لتحقيق توصيل آمن ومتوافق مع المعايير. ويقسم هذا الدليل العملية الكاملة إلى خطوات يسهل تنفيذها.
قائمة التحقق قبل التثبيت
التحضير هو أساس التثبيت الناجح. قبل البدء في أي عملية حفر، يجب على المُثبِّت تجهيز الأدوات المناسبة والتأكد من أن جميع المواد تتوافق مع مواصفات المشروع. هذا الفحص الأولي يمنع وقوع أخطاء مكلفة ويضمن السلامة في موقع العمل.
الأدوات والمواد المطلوبة
يجب على المُركِّب تجهيز جميع العناصر اللازمة قبل بدء العمل. وتشمل قائمة المراجعة النموذجية ما يلي:
- مثقاب مطرقي دوار: المثقاب العادي يفتقر إلى القوة اللازمة للحفر في الخرسانة.
- مثقاب كربيد وفقًا لمعيار ANSI: يجب أن يتطابق قطر المثقاب تمامًا مع قطر المثبت.
- فرشاة سلكية وهواء مضغوط/مصباح نفخ: لتنظيف الثقب المحفور تنظيفًا شاملًا.
- مفتاح عزم الدوران المعاير: ضروري لتطبيق قوة الشد الصحيحة.
- مطرقة: لتثبيت المرساة في مكانها.
- مثبتات إسفينية: القطر والطول والمادة المناسبة لهذا الاستخدام.
- معدات الحماية الشخصية (PPE).
التحقق من المفتش 🧐 غالبًا ما يتضمن الفحص السابق للتركيب التحقق من نوع المثبت ومادته وحجمه مقارنةً بوثائق البناء المعتمدة. وقد يقوم المفتشون المتخصصون أيضًا بالتأكد من توافق طريقة الحفر وإجراءات تنظيف الثقوب مع تقرير تقييم المثبت (مثل تقرير تقييم المثبتات ICC-ES ESR) ومعايير MPII.
احتياطات السلامة
يتطلب تركيب المثبتات الإسفينية الخرسانية استخدام أدوات كهربائية، وقد يؤدي ذلك إلى انتشار الحطام في الهواء. لذا، فإن الالتزام بإجراءات السلامة أمر لا يقبل التنازل عنه.
- حماية العين: احرص دائمًا على ارتداء نظارات السلامة أو النظارات الواقية للحماية من غبار الخرسانة وشظاياها.
- وسائل حماية الأذن: يعمل المثقاب الدوار بمستويات ديسيبل عالية.
- قناع الغبار/جهاز التنفس: يُشكل استنشاق غبار السيليكا البلورية المنبعث من الخرسانة خطرًا صحيًّا جسيمًا.
- القفازات: حماية اليدين من التآكل والحواف الحادة.
عملية التثبيت
تتألف عملية التركيب من خمس خطوات دقيقة. إن تخطي أي خطوة أو تنفيذها بشكل غير صحيح سيؤثر سلبًا على قوة وموثوقية التوصيل.
الخطوة 1: حفر الثقب
يستخدم المُركِّب مطرقة دوارة ورأس حفر كربيدي مطابق لمعيار ANSI وبالحجم الصحيح لحفر ثقب في الخرسانة. يجب أن يكون قطر الثقب مساوياً لقطر المثبت. ويجب حفر الثقب إلى عمق محدد، والذي يكون عادةً أعمق بما لا يقل عن قطر المثبت الواحد مقارنةً بعمق التثبيت المطلوب.
الخرسانة المتشققة مقابل الخرسانة غير المتشققة 🧱 The American Concrete Institute (ACI) provides criteria for anchor use in cracked versus uncracked concrete. Because factors like load stress and shrinkage can cause cracking, ACI 318 guidelines often treat cracked concrete as the default design assumption for maximum safety. Installers must use wedge anchors rated for the specific condition of the base material.
Step 2: Clean the Hole
A clean hole is absolutely essential for achieving the anchor’s holding power. Debris acts as a lubricant and prevents the expansion clip from making solid contact with the concrete. The most effective method is a sequence of blowing, brushing, and blowing again.
- Use compressed air or a blower bulb to force loose dust out of the hole.
- Scrub the interior walls of the hole with a properly sized wire brush to dislodge any remaining particles.
- Blow the hole out one final time to remove the loosened dust.
Step 3: Position the Fixture and Insert the Anchor
With the hole prepared, the installer positions the item being fastened over the hole. The wedge anchor, with its nut and washer attached, is then inserted through the fixture and into the hole. The nut should be turned just past the top of the anchor body.
Step 4: Set the Anchor
The installer gently taps the nut end of the anchor with a hammer. This action drives the anchor down into the hole until the washer and nut are snug against the surface of the fixture. This step ensures the expansion clip is properly positioned at the bottom of the hole before tightening begins.
Step 5: Tighten the Nut to Torque Specification
This final step activates the anchor. An installer uses a calibrated torque wrench to tighten the nut. The rotational force pulls the stud upward, forcing the clip to expand and wedge against the hole walls. It is crucial to apply the specific torque value listed in the MPII.
- عدم الوصول إلى عزم الدوران المطلوب results in insufficient expansion and a weak hold.
- الإفراط في عزم الدوران can cause the concrete to fail or damage the anchor itself.
For projects requiring oversight, a special inspector will verify the final installation. They use a calibrated torque wrench to confirm the correct torque was applied. They may also check for a length identification code stamped on the anchor’s end to verify proper embedment depth for wedge anchors recognized for multiple embedments.
Common Applications: Where to Use Wedge Anchors
The strength and reliability of wedge anchors make them suitable for a wide range of fastening tasks in solid concrete. Their applications are broadly categorized into structural and non-structural, though both often involve heavy loads and demand a secure connection. From large-scale construction to industrial facility outfitting, these fasteners provide essential holding power.
Structural Applications
Structural applications involve fastening components that are integral to a building’s framework. In these scenarios, anchor failure could compromise the stability of the structure itself. Engineers specify wedge anchors in these critical connections for their proven performance and high load capacities.
Securing Steel Beams and Columns
Contractors frequently use wedge anchors to attach steel base plates for I-beams and support columns to concrete foundations. This creates a solid connection that transfers the building’s load directly to the footing. The anchor’s diameter and material are chosen based on engineering calculations to handle immense shear and tension forces. The principles of this technology extend to massive civil engineering projects, where barrel and wedge assemblies secure soil anchors and even support suspension bridge cables.
Typical Load Capacities for Steel Connections 📊 The following values are general guidelines for a single anchor in 2,000 PSI concrete. An engineer must always verify project-specific requirements.
القطر الطول Zinc-Plated Load Capacity (lbs) Stainless Steel Load Capacity (lbs) 1/4 inch 1-3/4 inches 500 450 3/8 inch 3 inches 1,200 1,100 1/2 inch 3-3/4 inches 2,000 1,800
Attaching Sill Plates
In both residential and commercial wood-frame construction, a wedge anchor is a common choice for securing sill plates. The sill plate is the first piece of lumber attached to the top of a foundation wall. Anchoring it properly prevents the wooden structure from shifting or lifting, especially in areas prone to high winds or seismic activity.
Non-Structural Applications
Non-structural applications involve securing items that are not part of the primary building frame but still require a strong, permanent hold. These applications are often just as critical for safety and operational efficiency.
Mounting Heavy Machinery
Factories and workshops rely on wedge anchors for mounting heavy industrial equipment to concrete floors. This includes machinery like lathes, presses, and CNC machines that generate significant vibration and dynamic loads. Proper mounting is essential for operational stability and safety. Selecting an anchor of insufficient size or strength can lead to failures such as steel failure, where the anchor body breaks, or anchor pull-out, where the fastener slips from the hole.
Installing Pallet Racking and Shelving
In warehouses and distribution centers, pallet racking systems must be securely anchored to the floor. The significant weight of stored goods creates a high risk of tipping if the racks are not fastened correctly. Installers use wedge anchors at the base of each upright to ensure the entire shelving system remains stable and safe for personnel.
Securing Handrails and Guardrails
Safety railings along walkways, mezzanines, and stairwells are critical for fall protection. A wedge anchor provides the robust connection needed to secure the base plates of these guardrails to the concrete substrate. The reliability of the anchor ensures the railing can withstand the required lateral forces specified in building codes.
Choosing the Right Wedge Anchor for Your Project
Selecting the appropriate wedge anchor is a critical decision that directly impacts the safety and longevity of an installation. An installer must consider the project’s environment, the load requirements, and the thickness of the material being fastened. Making the right choice ensures optimal performance and a secure connection.
Material Types and Environments
The surrounding environment is the primary factor in determining the correct anchor material. Each material offers a different level of corrosion resistance, making it suitable for specific conditions.
فولاذ كربوني مطلي بالزنك
This is the most common and economical option for wedge anchors. A zinc plating provides a basic layer of corrosion resistance. Installers should use these anchors exclusively in dry, indoor environments where exposure to moisture is not a concern.
الفولاذ المجلفن بالغمس الساخن
Hot-dipped galvanized anchors have a much thicker zinc coating than their zinc-plated counterparts. This robust layer offers superior protection against corrosion. These are suitable for use in damp or humid indoor locations and some dry outdoor applications.
الفولاذ المقاوم للصدأ 304
For applications involving moisture or water, 304 stainless steel is an excellent choice. It provides substantial corrosion resistance and is often specified for wet environments and areas with exposure to certain chemicals.
الفولاذ المقاوم للصدأ 316
This material offers the highest level of corrosion protection. A 316 stainless steel wedge anchor is the premier choice for highly corrosive settings.
- Submerged freshwater or saltwater applications
- Coastal areas with salt spray
- Wastewater treatment plants
- Environments with industrial chemicals
Determining Correct Diameter and Length
The dimensions of the anchor—its diameter and length—determine its holding power and suitability for a specific task.
How Diameter Affects Holding Power
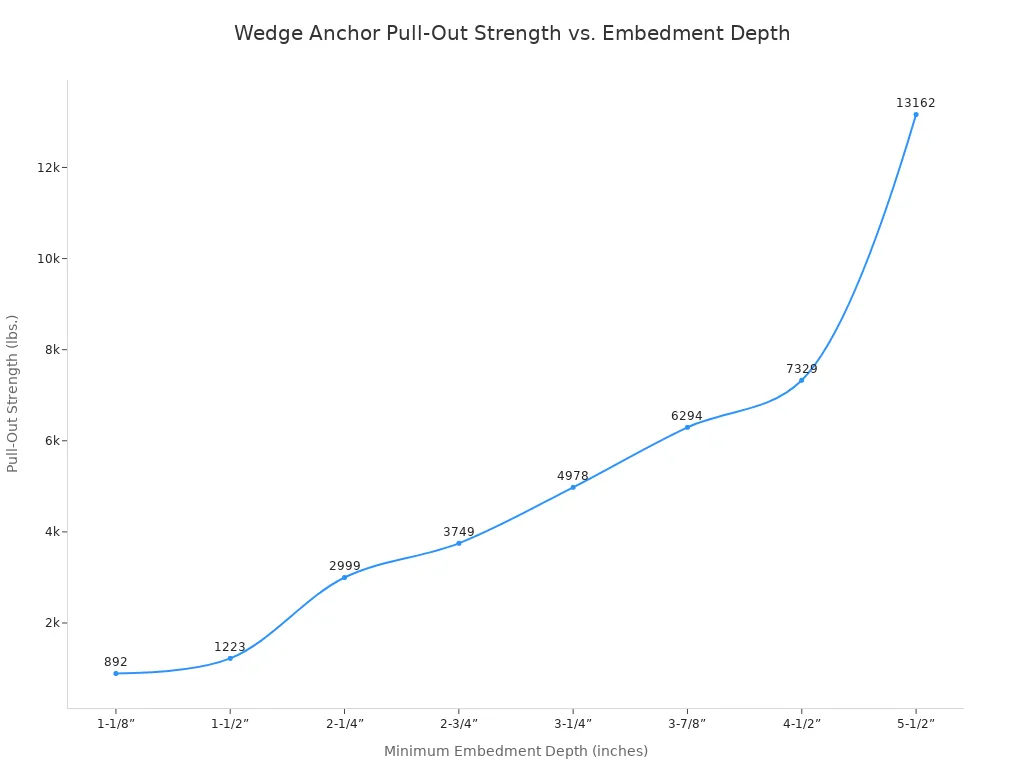
An anchor’s diameter has a direct relationship with its strength. A larger diameter anchor provides greater resistance to both tension (pull-out) and shear (side-to-side) forces. As the diameter increases, so does the required embedment depth, creating a significantly stronger hold in the concrete. The holding power increases exponentially with larger diameters.
Calculating Required Anchor Length
Choosing the correct size wedge anchor involves a simple calculation. The anchor must be long enough to pass through the fixture and achieve the required minimum embedment depth in the concrete base material.
Anchor Length Formula 📏
Fixture Thickness + Minimum Embedment Depth + Nut/Washer Height = Required Anchor Length
Deeper embedment significantly increases an anchor’s holding capacity. For example, a 1/2″ anchor embedded at 2-1/4″ has a lower ultimate tension load than the same anchor embedded at 3-3/4″ in the same strength concrete.
| Anchor Diameter | Embedment Depth | Ultimate Tension (lbs) @ 4,000 PSI Concrete |
|---|---|---|
| 1/2 بوصة | 2-1/4″ | 3,084 |
| 1/2 بوصة | 3-3/4″ | 4,587 |
| 5/8 بوصة | 2-3/4 بوصة | 6,054 |
| 5/8 بوصة | 4-5/8″ | 9,155 |
An installer must always refer to manufacturer specifications to confirm the minimum embedment for the selected anchor.
Wedge Anchors vs. Other Concrete Fasteners
An installer has many fastener options for concrete applications. The choice depends on load requirements, base material, and whether the installation is permanent. Understanding the key differences between wedge anchors and other common fasteners is essential for selecting the correct component for the job. This ensures both safety and performance.
Wedge Anchor vs. Sleeve Anchor
A sleeve anchor functions similarly to a wedge anchor but uses a different expansion mechanism. While a wedge anchor expands a small clip at its base, a sleeve anchor expands a full-length sleeve along the anchor body. This design difference leads to distinct performance characteristics. Sleeve anchors are versatile for various base materials like brick or block, but wedge anchors provide superior strength in solid concrete.
Comparison: Wedge Anchor vs. Sleeve Anchor ⚙️ The primary differences are in their mechanism and resulting holding power.
ميزة مرساة إسفينية Sleeve Anchor Mechanism Expands a clip against the material Expands a sleeve against the material Holding Power High; suitable for heavy-duty applications Lower; suitable for lightweight applications Load Capacity Highest among mechanical anchors Less than wedge anchors
Wedge Anchor vs. Drop-In Anchor
A drop-in anchor is a female anchor, meaning it is internally threaded. Installation is a two-step process. First, an installer places the anchor in the hole and uses a setting tool to expand it. Then, a separate bolt or threaded rod is inserted to attach the fixture. This design is ideal for applications requiring a flush surface or the ability to remove the bolt. In contrast, wedge anchors are a single-unit male fastener that allows for through-fixture installation, making the process faster for many applications.
Wedge Anchor vs. Concrete Screw (Tapcon)
Concrete screws, often known by the brand name Tapcon, operate on a completely different principle. They do not use an expansion mechanism. Instead, these hardened screws cut their own threads directly into the concrete, creating a secure connection. While they do not match the ultimate holding power of a heavy-duty wedge anchor, concrete screws offer significant advantages in certain situations.
Installers often prefer concrete screws for applications that require:
- Temporary installations or potential removal: Screws can be easily uninstalled, leaving a clean hole. This is ideal for temporary bracing or fixtures that may be relocated.
- Ease of installation: The process simply involves drilling a hole and driving the screw, which can be faster for light-duty tasks.
- Versatility for various loads: They are suitable for a wide range of uses, from securing electrical boxes and conduit to mounting light fixtures.
Wedge Anchor vs. Adhesive Anchor
Adhesive anchors, also known as chemical anchors, represent a fundamentally different approach to fastening in concrete. Instead of relying on mechanical expansion, they use a two-part chemical resin to bond a threaded rod or rebar to the base material. This creates an incredibly strong, stress-free connection. The choice between a wedge anchor and an adhesive system depends heavily on the project’s specific demands, including load requirements and installation timeline.
The most significant difference is the time until the anchor can be loaded. A mechanical fastener like a wedge anchor is ready for immediate loading as soon as an installer tightens it to the correct torque. Adhesive systems require a specific cure time before they can bear any weight.
Curing Time Considerations for Adhesive Anchors ⏱️ The time it takes for the adhesive to fully harden is not constant. Several factors influence the curing process:
- Ambient Temperature: Colder temperatures significantly slow the chemical reaction, extending the required cure time. Warmer conditions speed it up.
- Resin Type: Different chemical compounds have different cure rates. Vinylester and polyester resins often cure in under an hour, while epoxy resins can take several hours or even more than a day to reach full strength.
- Manufacturer Specifications: An installer must always consult the manufacturer’s technical data for specific gel and cure times based on job site conditions.
While wedge anchors offer speed and simplicity, adhesive anchors provide distinct advantages in certain scenarios. Because they bond to the concrete without exerting outward pressure, they are an excellent choice for installations close to an edge or near other anchors. They can also achieve exceptionally high load capacities, often surpassing those of mechanical anchors, making them ideal for the most demanding structural applications and rebar doweling. However, for many heavy-duty applications in solid concrete where speed is a factor, the proven performance and immediate load capacity of wedge anchors make them the preferred solution.
Common Wedge Anchor Installation Mistakes to Avoid
A successful wedge anchor installation depends on precision. Even small errors can significantly reduce an anchor’s holding power and compromise safety. Installers can ensure a secure and reliable connection by avoiding a few common but critical mistakes. Following the correct procedure is essential for the performance of all wedge anchors.
Using an Incorrectly Sized Drill Bit
The relationship between the drill bit and the anchor diameter is non-negotiable. A wedge anchor requires a hole that is the exact same diameter as the anchor itself. Using a bit that is too large creates a gap between the expansion clip and the concrete. The clip cannot expand enough to create the necessary friction, causing the anchor to spin in the hole or pull out under a low load. Conversely, a bit that is too small prevents the anchor from being inserted into the hole at all, stopping the installation before it begins.
Failing to Clean the Hole Properly
Drilling into concrete generates a significant amount of dust and debris. Failing to clean the hole thoroughly is one of the most frequent causes of anchor failure. This dust acts like a layer of fine ball bearings between the expansion clip and the base material. It drastically reduces the coefficient of friction, preventing the clip from getting a solid grip. A compromised grip means a severely reduced holding capacity. The proper procedure involves blowing the hole out, scrubbing it with a wire brush, and blowing it out a final time to ensure a clean surface for contact.
Under-Torquing or Over-Torquing the Nut
Applying the correct torque is the final step that activates the wedge anchor. Both too little and too much torque lead to failure. Under-torquing the nut means the stud is not pulled upward enough to fully expand the clip, resulting in a weak hold. Over-torquing is equally dangerous and can cause several types of catastrophic failure.
The Importance of Calibration 🔧 An installer must use a calibrated torque wrench to apply the manufacturer’s specified torque value. Guessing or using a standard impact wrench invites failure and makes the installation unreliable.
Exceeding the recommended torque can overwhelm both the anchor and the base material. Potential consequences include:
- Steel failure of the anchor itself.
- Splitting or spalling of the surrounding concrete.
- The anchor pulling through the wedges.
- The entire anchor spinning in the hole, which indicates it is damaged and cannot be set.
Installing Too Close to an Edge or Another Anchor
A wedge anchor’s holding power comes from immense outward pressure. This force creates a cone-shaped area of stress in the concrete below the anchor. An installer must respect the physical limitations of the concrete base material. Placing an anchor too close to an unsupported edge or another anchor can cause these stress cones to overlap or to break out the side of the concrete. This failure mode, known as concrete breakout, is abrupt and can lead to a complete loss of holding power.
Engineers and manufacturers provide strict guidelines for minimum spacing and edge distances to prevent this type of failure. These distances are calculated based on the anchor’s diameter and are not optional. Adhering to these specifications is essential for ensuring the structural integrity of the connection.
Critical Spacing and Edge Distance Rules 📐 While an engineer must always approve project-specific requirements, general guidelines exist to prevent concrete failure:
- Minimum Spacing: The distance between two wedge anchors should be at least 10 times the anchor diameter.
- Minimum Edge Distance: The distance from an anchor to an unsupported concrete edge should be at least 5 times the anchor diameter.
- Vibration Considerations: An installer should increase the spacing between anchors if the application involves vibration or sudden impact loads.
The consequences of fastener instability can be catastrophic. In the L’Ambiance Plaza collapse, which resulted in 28 fatalities, a prominent theory points to the instability of wedges supporting a floor package. Investigators found that large gaps and other issues would have required an extremely high friction coefficient to hold the wedges in place. The failure of these small components is believed to have initiated the entire structural collapse, highlighting the immense importance of proper fastener installation and stability.
Even in non-structural applications, the costs of improper installation are significant. Failing to properly anchor pallet racks by not following spacing requirements can lead to catastrophic accidents, injuries, and major financial losses from damaged inventory. Similarly, attempting to remove improperly installed anchors often results in cracked concrete and damaged floors. These repairs can cost an estimated $15-25 per square foot and create ongoing operational hazards, demonstrating that correct installation from the start is the only acceptable method.
The wedge anchor is a powerful and reliable fastener for heavy-duty applications in solid concrete, from securing heavy machinery to structural steel. The strength of this wedge anchor comes from a simple yet effective wedging mechanism activated during installation. Achieving maximum holding power and safety in concrete requires precision. An installer must ensure correct hole size, cleanliness, and torque.
Quality Assurance ✅ For critical projects, specifying wedge anchors with certifications like ICC-ES أو ETA ensures the product meets rigorous, tested performance standards.
الأسئلة الشائعة
Can an installer reuse a wedge anchor?
An installer cannot reuse a wedge anchor. The removal process damages the anchor’s threads and expansion clip, rendering it unsafe for a new connection. A project always requires a new anchor for a secure installation.
Can wedge anchors be used in brick or block?
Wedge anchors are designed exclusively for solid concrete. The high expansion force they generate can easily crack or break weaker base materials like brick, hollow block, or cinder block. An installer must choose a different anchor type for those materials.
How do you remove a wedge anchor?
A wedge anchor creates a permanent connection. It cannot be removed intact. An installer must cut the anchor off flush with the surface of the concrete or fixture. A grinder with a cut-off wheel is the most effective tool for this task.
What is a “cracked concrete” rated anchor?
A “cracked concrete” rated anchor is engineered to maintain its hold even if the concrete cracks under load. Building codes often require these tested anchors for overhead and structural applications to ensure the highest level of safety.
Why drill the hole deeper than the required embedment?
Drilling a deeper hole creates a space for any remaining concrete dust to settle. This ensures the anchor reaches its full embedment depth. The expansion clip can then function properly without obstruction from drilling debris.
What should an installer do if the anchor spins in the hole?
A spinning anchor indicates an installation failure, often from an oversized hole or improper cleaning. The installer must abandon that anchor. They will need to drill a new hole and use a completely new wedge anchor.
How soon can a wedge anchor be loaded?
An installer can apply the full load to a wedge anchor immediately after tightening it to the specified torque. This immediate load capacity is a key advantage over adhesive anchor systems, which require a specific cure time.