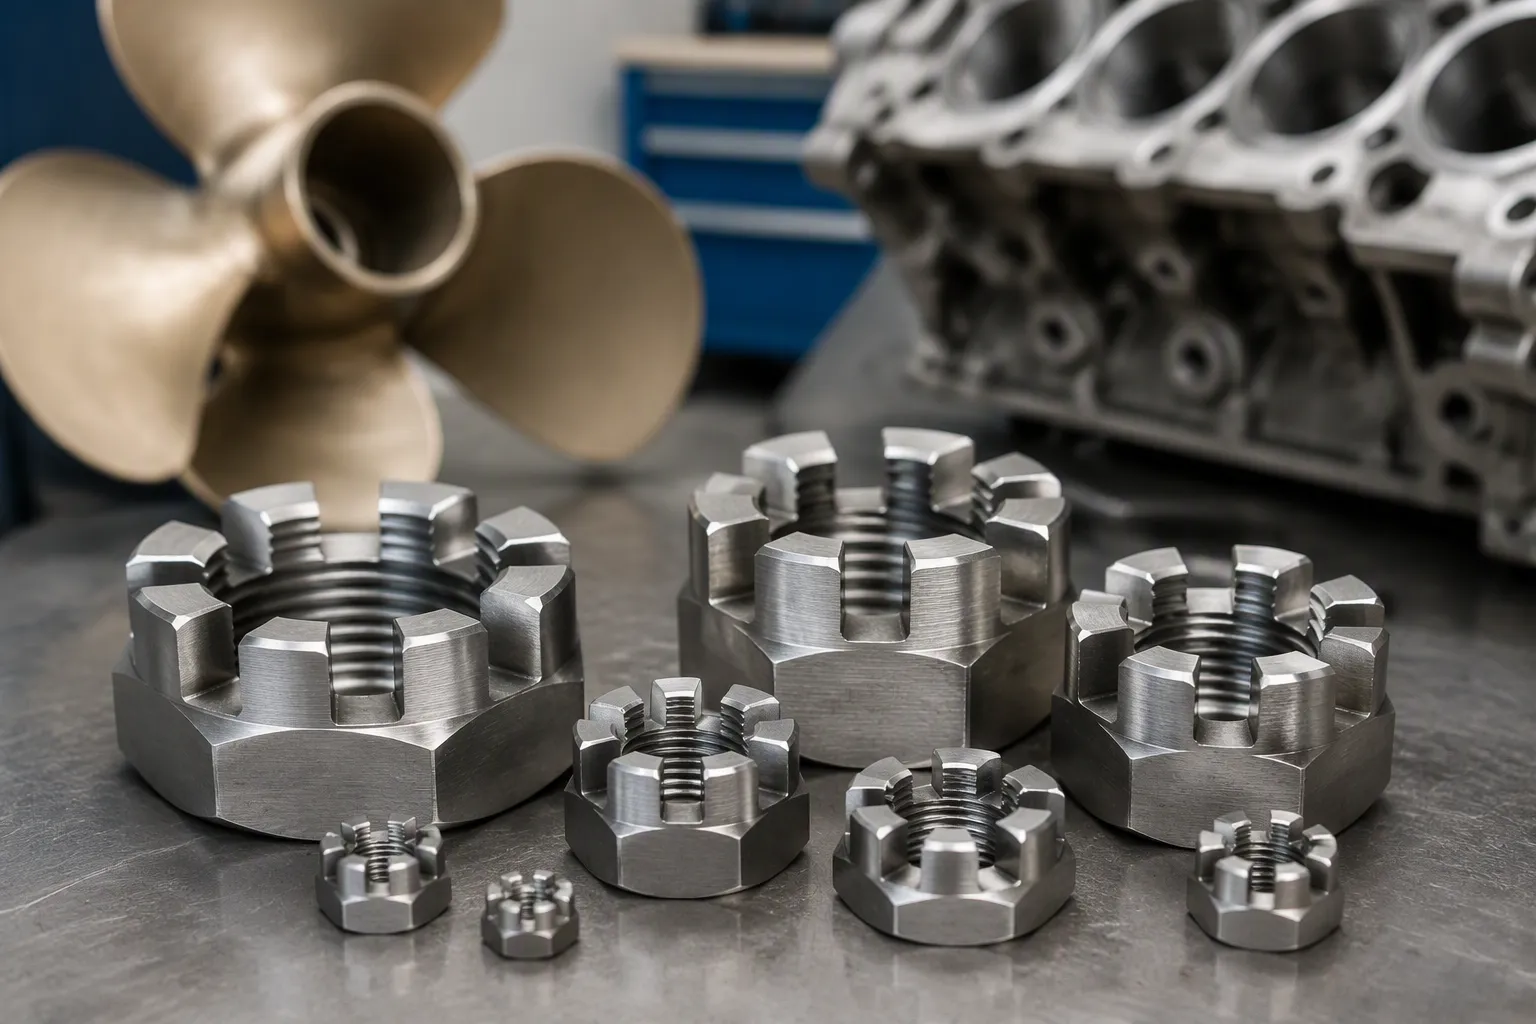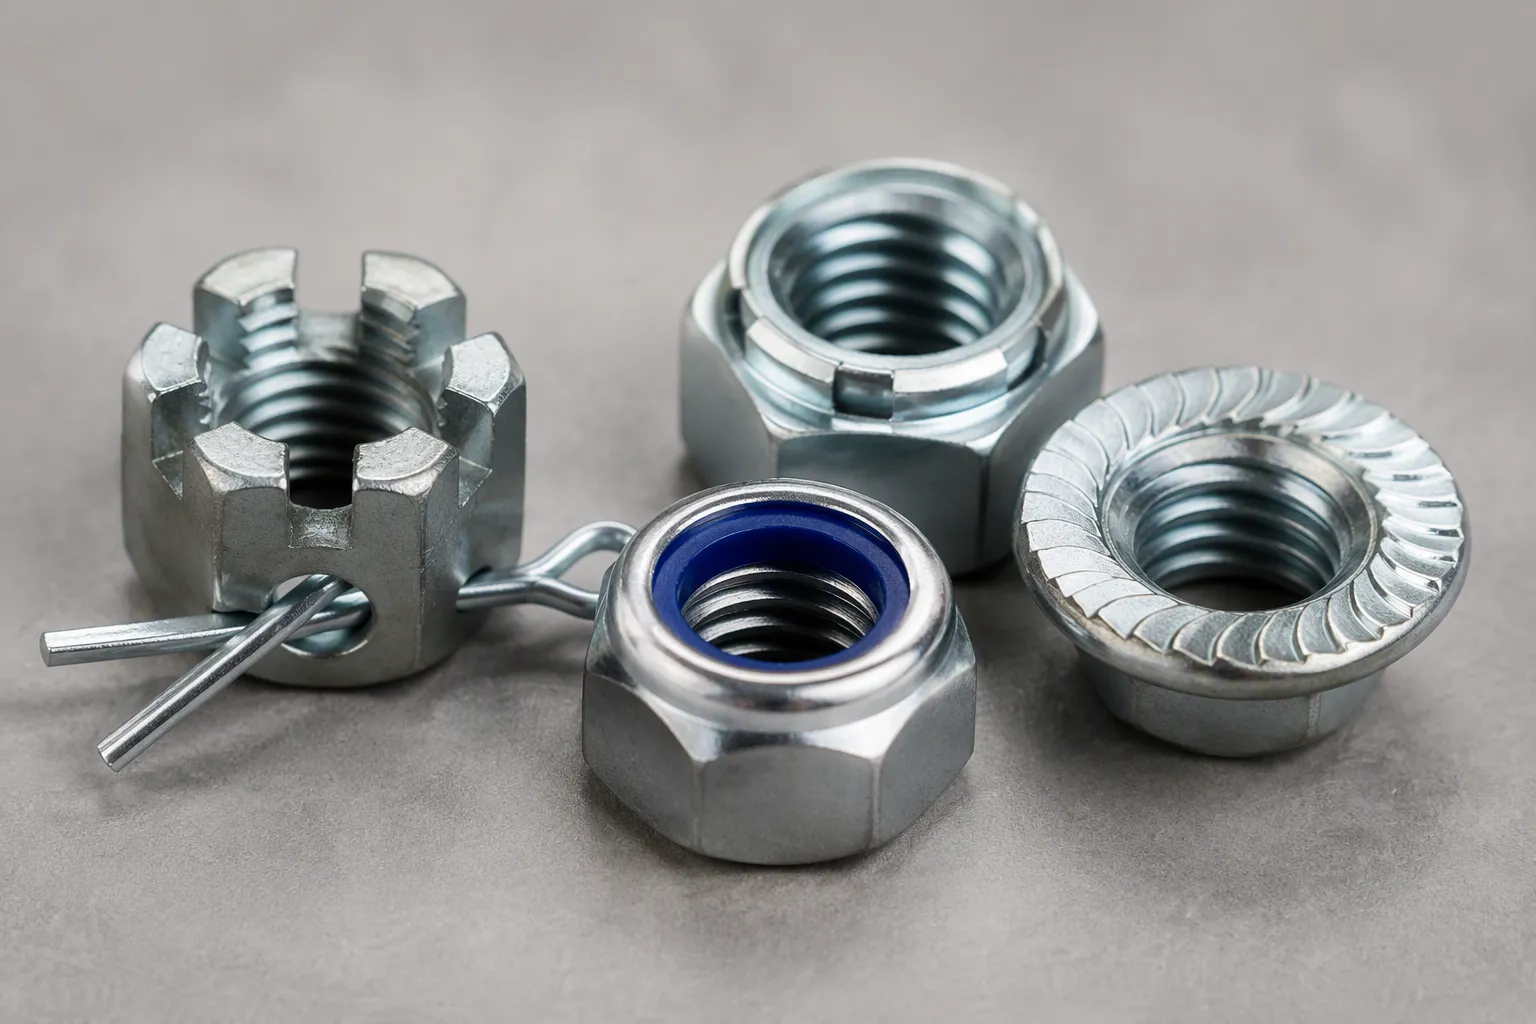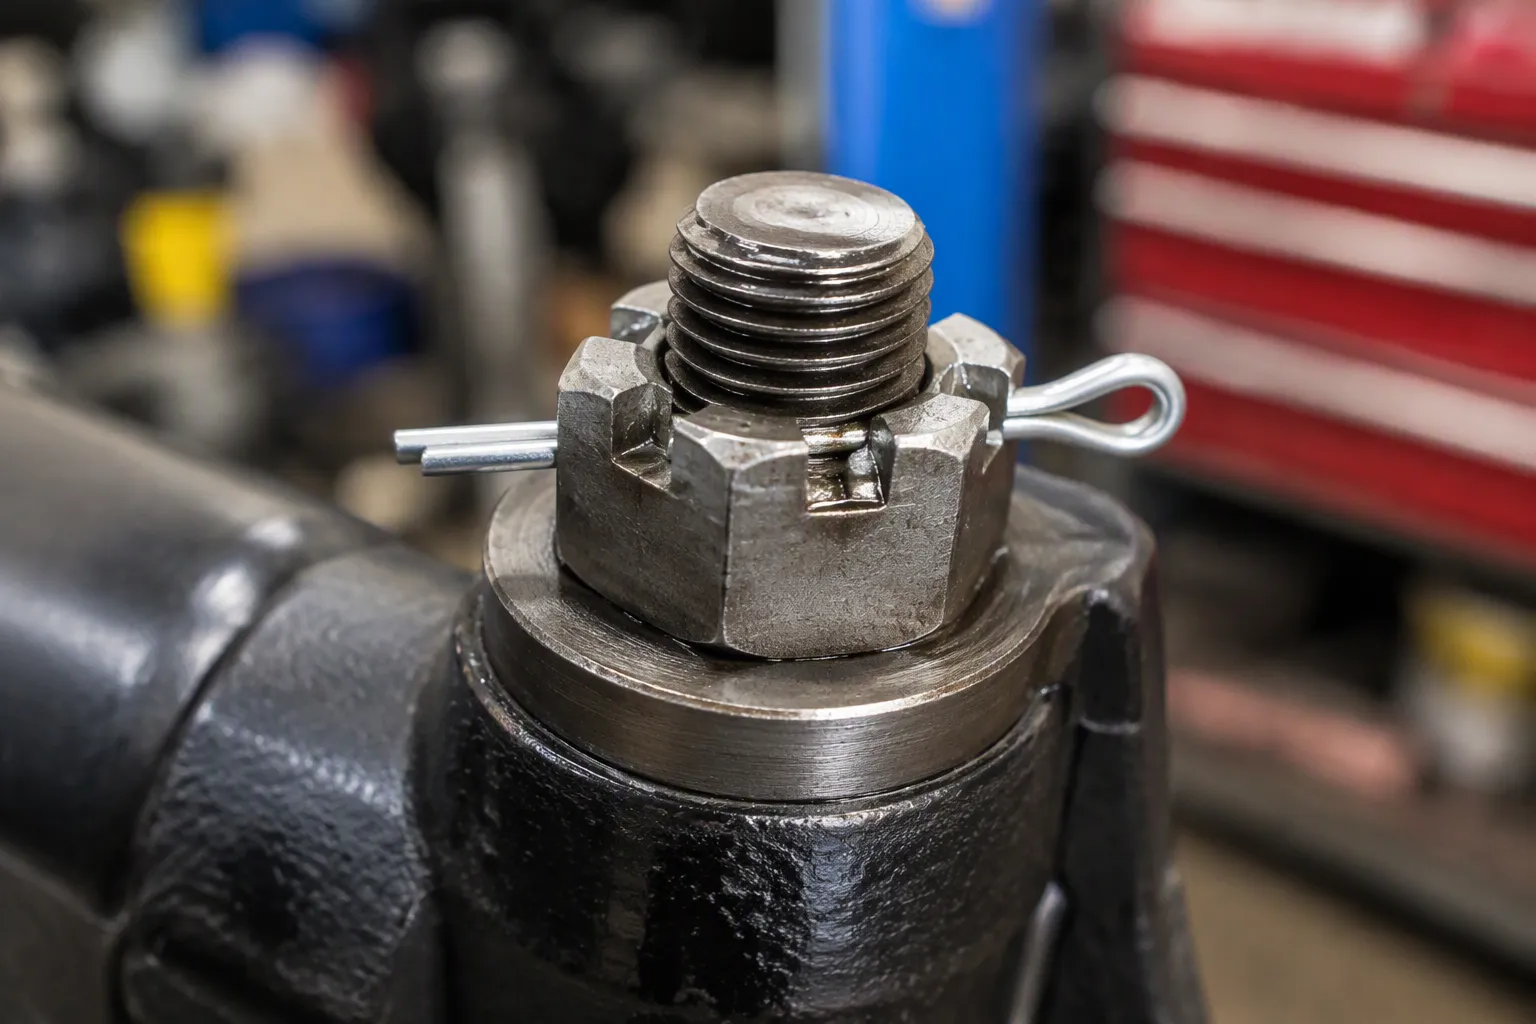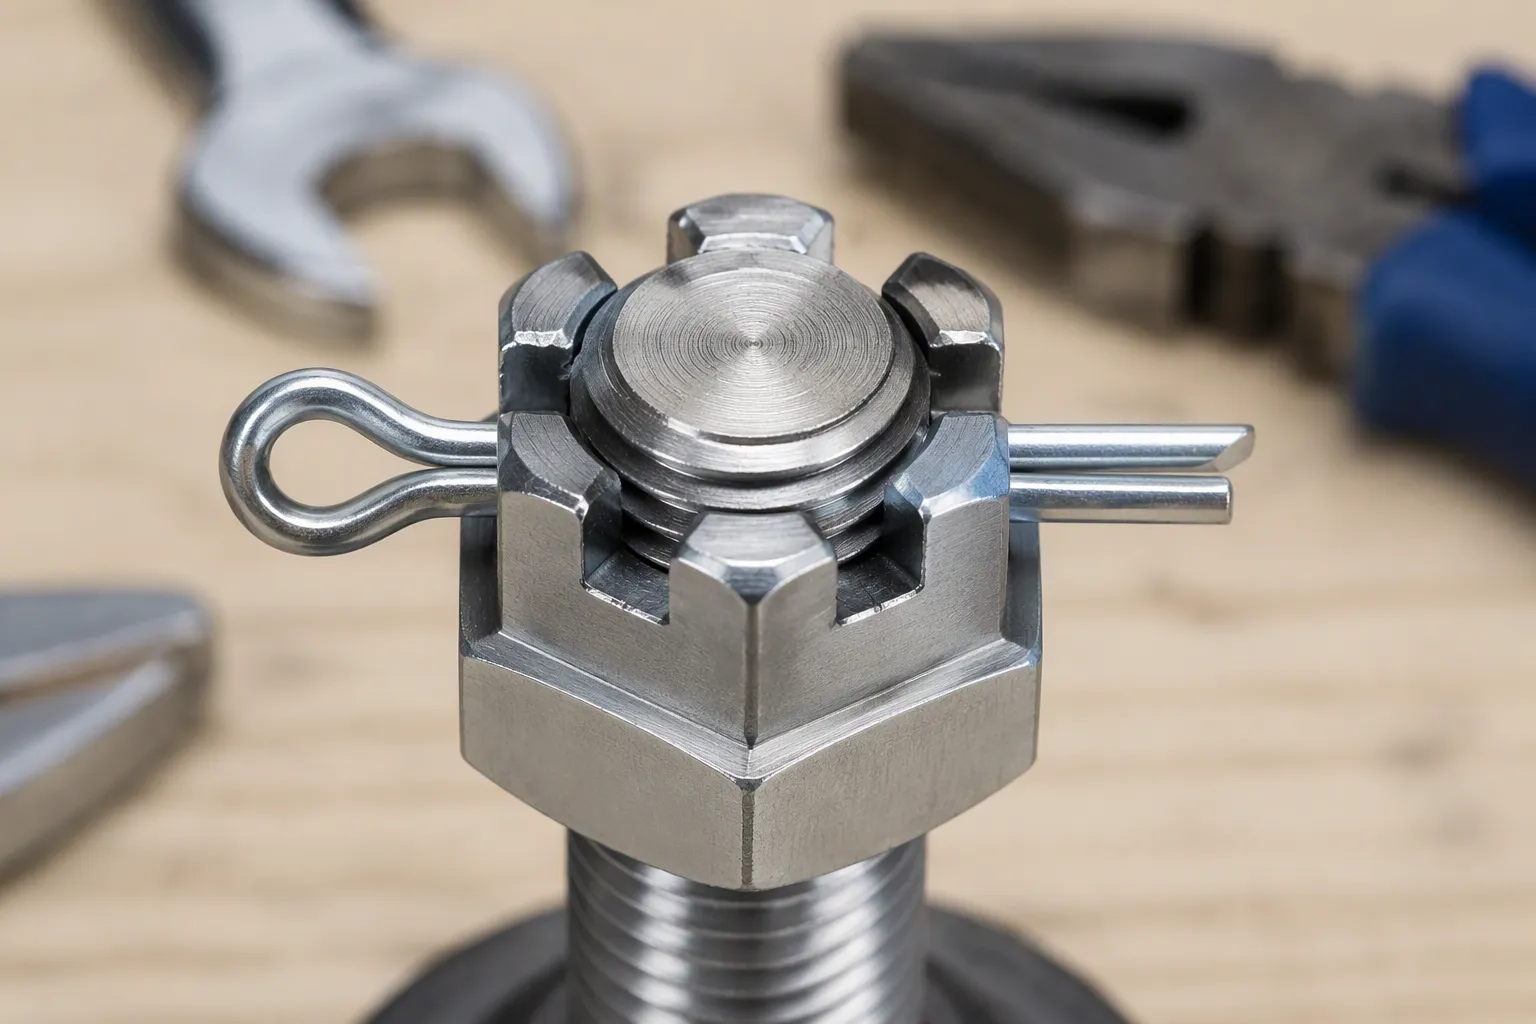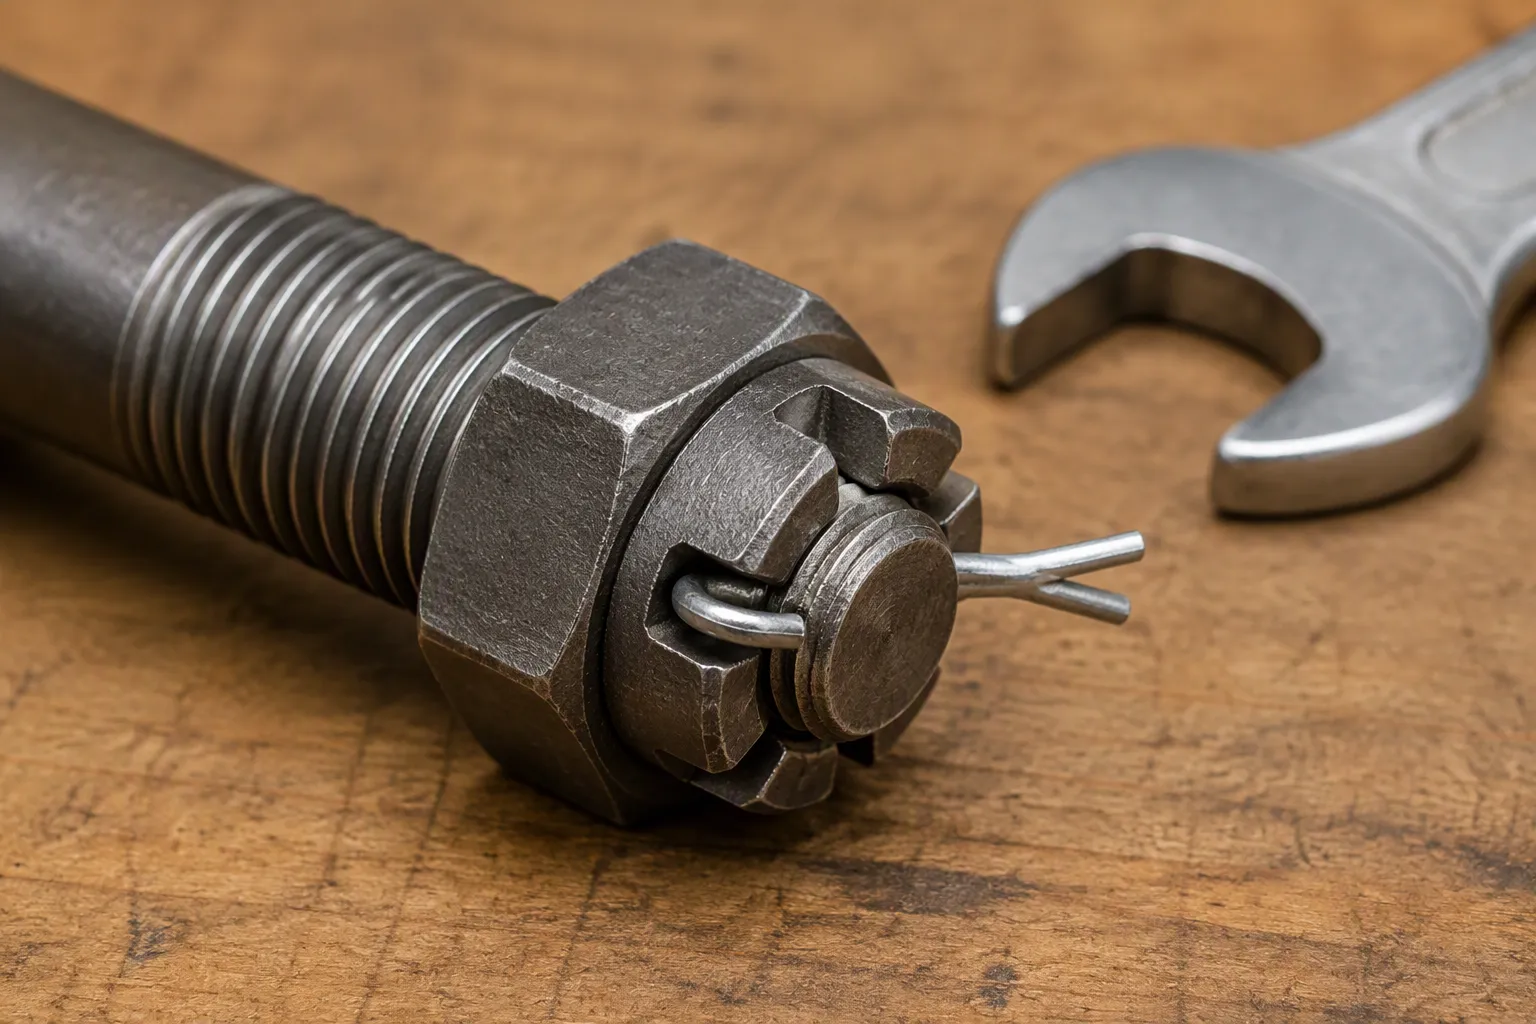
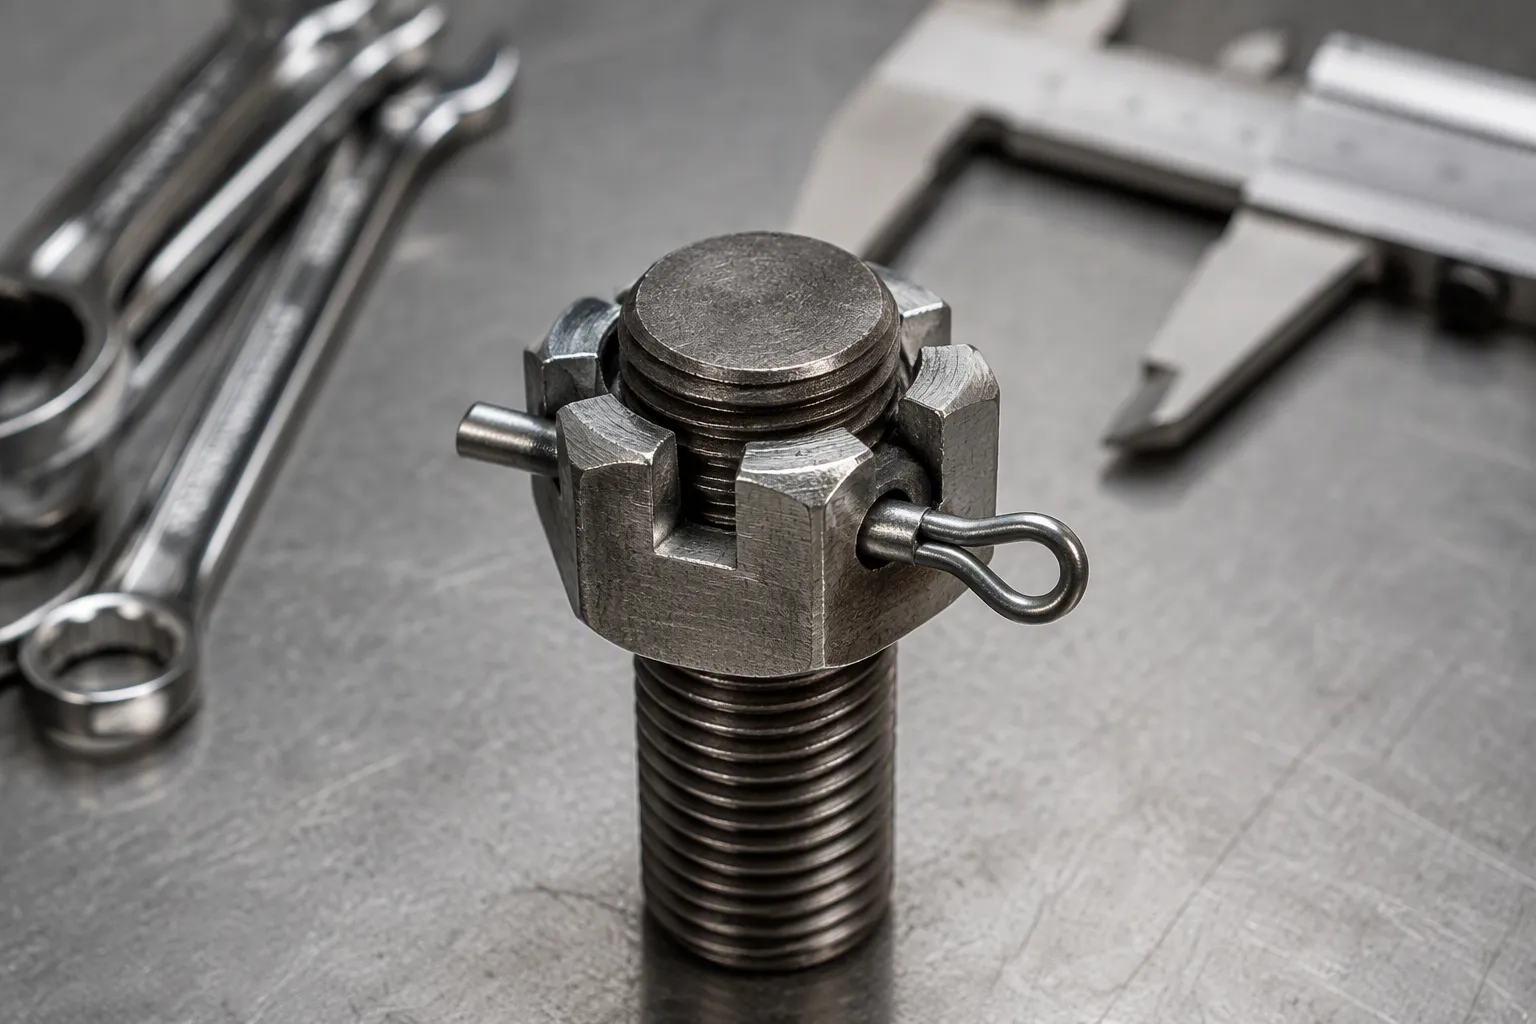
A Kronenmutter threads onto the receiver extension and locks the buffer tube to the lower receiver, making it a small but critical part of a reliable build. Several factors shape choosing the right castle nut: function, type and material, finish, installation method, and build compatibility. The nut must match the buffer kit, receive roughly 40 ft-lbs of torque, and accept proper staking. No single universal best option exists—the right choice depends on the specific project. These practical criteria give builders, and anyone sourcing Schrauben und Muttern aus einem Hersteller von kundenspezifischen Verbindungselementen, a clear path to kundenspezifische Befestigungen that fit with confidence.
What Does a Castle Nut Do?

The Castle Nut’s Role in the Receiver Extension
Securing the Buffer Tube to the Lower Receiver
The castle nut is a threaded, castellated nut that threads onto the buffer tube, also called the receiver extension. The installation sequence follows a clear order:
- During lower assembly, the builder threads the castle nut and end plate onto the buffer tube before affixing it to the lower receiver.
- The buffer tube threads into the AR-15 lower receiver until it clicks into place, secured by the buffer detent.
- The end plate slides into position.
- The builder locks the buffer tube in place by tightening the castle nut with an armorer’s wrench.
- After tightening, the builder may stake the castle nut to prevent loosening.
Tightening the castle nut presses the end plate against the receiver and creates a strong clamping force. This force locks the buffer tube in place, keeps it aligned, and prevents the buffer tube from backing off under firing vibration and stress. The notches, or “castles,” on this slotted nut allow staking, which mechanically locks the nut in place.
Maintaining Correct Stock and Buffer Assembly Function
The castle nut’s critical role extends beyond simple fastening. It holds the entire stock assembly together and keeps the buffer system aligned with the bolt carrier group. Proper alignment supports consistent cycling and smooth stock adjustment.
Why the Castle Nut Matters for Reliability
Preventing Loosening Under Recoil and Vibration
Two castle nuts rarely behave the same way under heavy use. An unstaked castle nut can loosen under recoil during repeated firing. Staking adds a physical barrier that locks the nut in place for duty or hard-use rifles.
Protecting the Receiver Extension Threads and Fit
Correct torque and staking protect the threads and preserve a tight fit between the buffer tube and receiver. This protection supports long-term reliability across thousands of rounds.
What Happens When a Castle Nut Fails
Symptoms of a Loose Castle Nut
A loose castle nut shows warning signs before major problems develop:
- The castle nut backs off under recoil during repeated firing.
- The buffer tube rotates out of alignment.
- The rotating buffer tube shifts the buffer retainer out of position.
- Misalignment leads to feeding issues and irregular bolt carrier travel.
- Even slight rotation of the buffer tube affects buffer system alignment.
Potential Damage to the Lower Receiver and Stock Assembly
A failing castle nut creates several risks:
- A loose end plate can let the rear takedown pin detent and spring fall out.
- A loose buffer tube can disengage the buffer retainer and interfere with bolt carrier group operation.
- A shifted buffer tube can cause failures to feed or extract.
- In extreme cases, the bolt may not fully seat, creating an out-of-battery risk.
- The stock can become wobbly, and internal components can dislodge during firing.
Mil-Spec vs. Aftermarket Castle Nuts
What “Mil-Spec” Means for a Castle Nut
Standard Dimensions and Thread Specifications
A mil-spec castle nut follows a defined blueprint. The standard AR-15 unit uses a 1-3/16″–16 thread specification, and that pitch stays consistent across AR-15 and AR-10 platforms. The outer diameter and notch pattern also follow the same pattern. A mil-spec steel nut locks the receiver extension, captures the end plate, and accepts a standard armorer’s wrench. Builders torque it to 38–42 ft-lbs and then stake it at two opposing notches.
Typical Materials and Finishes in Mil-Spec Units
Mil-spec units rely on proven, economical materials. Hardened carbon steel provides the base, and a phosphate or black oxide finish adds corrosion resistance and surface hardness.
| Attribute | Spezifikation |
|---|---|
| Material | Hardened steel |
| Fertig | Black oxide or phosphate |
| Thread | 1-3/16″–16 |
| Einrichtung | 38–42 ft-lbs, stake at two notches |
How Aftermarket Castle Nuts Differ
Enhanced Materials and Coatings
Aftermarket makers upgrade the base materials. Billet 17-4 stainless steel und 7075-T6 aluminum alloy appear in premium lines, and black nitride or case-hardened finishes replace basic phosphate. These options market themselves as strength and corrosion upgrades over standard mil-spec castle nuts.
| Attribute | Spezifikation |
|---|---|
| Material | 17-4 stainless steel (billet) |
| Fertig | Black nitride and case hardened |
| Note | Marketed as a strength upgrade over mil-spec castle nuts |
Added Features and Design Variations
Aftermarket castle nuts add set screws, wedge locks, ratchet systems, and integrated QD sling mounts. Enhanced staking surfaces also appear on some models. These features target specific use cases rather than universal gains.
Matching the Type to Your Build and Budget
When a Standard Mil-Spec Nut Fits Best
A standard mil-spec castle nut suits most builds. It costs little, meets the original design intent, and delivers proven reliability. Budget builds, clone builds, and general-purpose rifles fit this category well.
When an Aftermarket Nut Is Worth Considering
Aftermarket castle nuts cost more, and the price gap is wide. A standard mil-spec unit runs about $4, while aftermarket options range from roughly $19 to $60.

An aftermarket castle nut earns its price in hard-use rifles, builds that need anti-rotation security, or projects where the buffer tube and end plate demand extra clamping force. The slotted nut design stays the same; the difference lies in material, coating, and added features.
Materials and Finishes Explained
Common Castle Nut Materials
Steel Alloys and Their Properties
Carbon steel is the most common choice for a castle nut. It offers solid strength at a reasonable cost for general builds, and a zinc plating or similar finish adds durability in dry, indoor conditions. Stainless steel grades A2 (304) and A4 (316) serve builders who face moisture, salt, or chemical exposure, such as marine, outdoor, or food-processing environments. These grades do not always match alloy steel strength, but they deliver stable long-term performance. Alloy steel castle nuts suit high-load applications. Alloying and heat treatment give them greater hardness and better fatigue resistance than standard carbon steel, which makes them a fit for heavy machinery, construction equipment, and automotive suspension systems. Alloy steel usually needs a surface treatment for corrosion protection.
Aluminum and Titanium Options and Their Trade-Offs
| Material | Gewicht | Strength / Durability | Trade-off |
|---|---|---|---|
| Aluminum (e.g., 7075-T6) | Very light — in some cases lighter than titanium | Strong for its weight but softer; threads can gall and strip under safety-critical torque, and repeated assembly accelerates wear | Saves maximum weight but sacrifices thread durability and mechanical reliability |
| Titanium (e.g., Grade 5) | ~45% lighter than steel, though heavier than aluminum | Better tensile strength and fatigue resistance than steel; holds up in critical, high-vibration applications | Provides the best balance of strength, longevity, and weight savings |
Material selection research shows that titanium is the best choice because it is in a performance space between inexpensive steel and light aluminum. It has the best mix of strength, longevity, and weight savings.
Finishes and Coatings Compared
Phosphate and Black Oxide Finishes
| Eigentum | Black Oxide (Bluing) | Phosphate (Parkerization) |
|---|---|---|
| Corrosion resistance | Moderate — thin oxidized layer offers some rust protection but far less than other finishes | Better than black oxide — superior corrosion and wear resistance |
| Wartung | Must be kept clean, dry, and oiled | Requires less maintenance, though still should be kept clean, dry, and oiled |
| Scratch/wear protection | Niedrig | Higher wear resistance than black oxide |
| Dimensional change | None | Minimal |
| Surface finish | Matte to polished | Rougher matte surface |
Phosphate finish generally outperforms black oxide in corrosion resistance. Suppliers offer stainless steel castle nuts with both black oxide and phosphorization (phosphate) as available finishes. Both finishes apply to castle nuts, though the sources provide no direct corrosion comparison for the nut itself.
Nitride and Other Corrosion-Resistant Coatings
Black nitride and case-hardened finishes appear on premium aftermarket units. These coatings raise surface hardness and resist corrosion better than basic phosphate. A nitride finish also keeps the slotted nut dimensions stable, so the buffer tube and end plate still seat correctly.
How Material and Finish Affect Performance and Cost
Korrosionsbeständigkeit und Langlebigkeit
Material and finish together decide how long a castle nut lasts. Stainless steel and nitride coatings resist rust in wet or salty conditions. Carbon steel with phosphate costs less and handles dry environments well. The right pairing of materials and finishes protects the threads and supports long-term reliability.
Cost Versus Long-Term Value
A basic carbon steel castle nut with a phosphate finish costs the least. Stainless, titanium, and nitride options cost more up front. Hard-use builds and harsh environments justify the higher price through longer service life. A standard mil-spec unit remains the value pick for typical builds, and a premium mil-spec alternative pays off in demanding conditions.
Advanced Features to Consider
Anti-Rotation and Locking Features
Set Screw and Wedge Designs
Aftermarket castle nuts often add mechanical locking systems. Set screw designs bite into the buffer tube groove or the nut body, and wedge designs clamp the nut against the end plate. These systems target the same goal: stopping rotation before it starts.
Enhanced Staking Surfaces
Some units feature thicker bodies and machined notches. The benefits of these anti-rotation features include:
- Mechanical anti-rotation lock: the nut’s slots align with bolt holes so cotter pins can be inserted, creating a mechanical lock that prevents rotational loosening caused by vibration — critical for high-speed machinery and race springs.
- Consistent precision: CNC machining keeps slot measurements within ±0.05mm, ensuring uniform cotter pin contact across production batches.
- Load distribution: the thicker body design spreads clamping loads widely, lowering stress levels that could cause premature part failure.
- Structural integrity under harsh conditions: the built-in locking system combined with titanium’s fatigue resistance maintains preload tension and prevents back-off under high-frequency vibration, temperature swings, and impact loads — validated by endurance racing case studies showing fasteners staying in place over 24-hour events without mid-race retorquing.
QD Sling Mount Integration
Endplate and Sling Mount Compatibility
Quick-detach sling mounts now integrate with the end plate. The mount fastens securely onto the castle nut rather than the receiver extension, so varying recoil tube sizes are no longer a concern. Installation does not require removing the nut, and no weapon disassembly is needed; only the included 9/64″ wrench is required to tighten the fastening screw. The ergonomic design does not interfere with charging handle operation, even with larger units such as the Gas Buster.
Die LWRCI Ambi QD Sling Mount uses two set screws on the underside of the unit. One is a dog point screw that seats into the buffer tube groove for consistent alignment, while the second is a pointed tip screw that, once installed, bites into the nut. This design eliminates the need to re-stake the nut after installation.
When an Integrated QD Feature Makes Sense
When the castle nut is properly torqued, staking is not required. However, if it is desired, a certified armorer or competent gunsmith should perform it, because the extremely hard surface of the ASAP QD increases the difficulty and the likelihood of damage.
Builders who run single-point slings or swap sling hardware often benefit from an integrated QD feature. The slotted nut stays standard in function, and the added mount saves hardware and weight.
Weighing Features Against Simplicity
Feature Fit for Your Intended Use
Extra features serve specific missions. A duty rifle may justify anti-rotation security, and a lightweight build may favor a QD mount. A range rifle rarely needs either.
Avoiding Unnecessary Complexity
More features mean more parts and more failure points. A plain slotted nut with correct torque and proper installation delivers proven reliability. Builders should add features only when the build demands them, and castle nuts with simple designs remain the easiest to install and maintain.
Installation, Staking, and Torque Specs

Tools You Need for a Proper Install
Castle Nut Wrench and Receiver Block
A proper installation starts with the right tools. An armorer’s wrench is the standard tool for tightening and removing a castle nut. A receiver block holds the lower receiver steady during the process. Builders should never loosen a castle nut with screwdrivers, punches, pliers, or improvised tools. These items can damage the nut or create an unreliable installation. An optional Dolos castle nut installation tool eases the job. It is not required, but it helps with multiple installs or armorer applications, and it works with 3/8 inch drive ratchets or torque wrenches.
Torque Wrench and Staking Punch
A torque wrench delivers consistent clamping force. A center punch handles the staking step. Basic hand tools round out the kit:
- A wrench
- Pliers
- A correctly sized cotter pin that matches both the bolt and the castle nut
Step-by-Step Installation
Threading and Torquing the Castle Nut
This step-by-step installation follows a clear sequence. Thread the castle nut onto the receiver extension tube with the cuts facing aft. Place the receiver end plate on the extension with the raised area facing forward. Thread the tube through the back of the lower receiver and stop just before the buffer retainer hole. Insert the buffer retainer spring and retainer, then depress the retainer corner with an index finger. Hold the retainer down while screwing in the tube until the retainer is trapped. Insert the rear takedown pin halfway from the starboard side with the cut facing aft. Place the takedown pin detent and spring into the hole at the back of the lower receiver.
Aligning the Endplate and Nut
Position the receiver end plate on top of the takedown pin spring. Press carefully without bending the spring. Screw down the castle nut to lock the spring in place. Tighten with a buttstock tool to the proper torque of 35-40 ft-lbs. Follow the manufacturer’s recommendations for the torque specification, because one value does not apply to every aftermarket component. Apply Blue Loctite, not Red, to prevent loosening.
Staking the Castle Nut Correctly
Why Staking Prevents Loosening
Staking mechanically locks the slotted nut in place. A loose castle nut can back off under recoil. Staking at two opposing notches stops that movement. A witness mark also helps builders spot loosening early.
Proper Staking Technique and Common Mistakes
Use a center punch to drive material from the receiver end plate into the pre-cut areas of the castle nut. Stake at least two areas for a properly installed result. Common mistakes include under-staking, over-staking, and skipping the witness mark. Proper torque and staking together protect the buffer tube and the end plate. Builders who follow these torque specs and staking steps get reliable service from their castle nuts.
Do not assume one torque specification applies to every aftermarket component. Always follow the receiver-extension manufacturer’s instructions for torque and staking.
Installation on Assembled Versus New Builds
Working With an Existing Stock Assembly
An existing stock assembly changes the job in practical ways. The builder already has a buffer tube seated in the lower receiver, and the castle nut sits behind the end plate. Removing the old castle nut requires an armorer’s wrench and a stable receiver block. The builder must first relieve any staking marks before the nut will turn freely. Skipping this step damages the receiver extension threads.
A replacement castle nut goes on in reverse order. The builder threads the new nut onto the buffer tube, aligns the end plate, and applies the correct torque with a torque wrench. Blue Loctite helps on rifles that see heavy use. Fresh staking follows once the nut reaches its final position. Builders who reuse the old end plate should inspect it for bent tabs or worn edges before assembly.
Installing During a Fresh Build
A fresh build gives the builder full control over sequence and access. The castle nut and end plate slide onto the buffer tube before the tube threads into the lower receiver. This order matters, because the end plate captures the rear takedown pin detent and spring. The builder then tightens the slotted nut to the specified torque and confirms the buffer tube sits at the correct depth.
New builds also make staking easier. The receiver sits empty, so the builder has clear access to the end plate notches. Castle nuts on new builds rarely carry old deformation, and the threads stay clean from the start. A dry fit before final assembly catches thread issues early. Builders should confirm the castle nut matches the receiver extension before applying torque, since a mismatched thread ruins both parts.
Both paths end the same way: correct torque, a seated end plate, and proper staking. The difference lies in preparation and access, not in the final result.
Compatibility for Specific Builds
Castle Nuts for AR-15 Builds
Standard AR-15 Receiver Extension Fit
The AR-15 platform sets the baseline for castle nut fit. A standard mil-spec castle nut threads onto a 1-3/16″–16 receiver extension, and that thread specification covers nearly every carbine buffer tube on the market. Builders should confirm the tube is mil-spec rather than commercial before ordering. The mil-spec and commercial-spec diameters differ slightly, and a nut cut for one will not seat correctly on the other.
Compatibility With Common Stock Systems
Most adjustable carbine stocks rely on the same slotted nut and end plate arrangement. Collapsible stocks, fixed stocks, and aftermarket stock kits all reference the same receiver extension interface. Builders who swap stocks should keep the original castle nut and end plate unless the new stock kit specifies otherwise. This compatibility keeps parts sourcing simple across AR-15 builds.
Castle Nuts for AR-10 Builds
Differences in Receiver Extension and Thread Specs
AR-15 and AR-10 castle nuts are largely interchangeable. Both platforms share the same 1-3/16″–16 TPI buffer tube threading, so the castle nut acts as a generally universal component. The real differences sit in the buffer tubes and internal parts. AR-10 buffer tubes may differ in length or internal dimensions to fit the larger buffer and spring required for cartridges such as .308 Winchester.
| Component | Interchangeable (AR-10 vs. AR-15)? |
|---|---|
| Schloss Nuss | Ja |
| Buffer Tube | Ja |
| Buffer | Nein |
| Buttstock | Ja |
| Latch Plate | Ja |
Selecting a Nut for Larger-Platform Builds
A standard castle nut works on an AR-10 build. Builders must still match the buffer tube, buffer, and spring to the specific large-platform rifle. A correct nut on an incorrect buffer assembly still produces cycling problems.
Castle Nuts for Pistol Builds
Considerations for Pistol Stabilizing Braces and Buffer Systems
Pistol builds follow the same carbine pattern in most cases. A typical pistol buffer kit pairs an AR-15 carbine castle nut with a mil-spec receiver end plate, a mil-spec 6-position buffer tube, a 3 oz. carbine buffer, and a carbine recoil spring. The Phase 5 pistol buffer tube ships with a mil-spec castle nut and end plate, and its machined lower slot accepts all mil-spec end plates and sling accessories. Some braces break the pattern. The SB Tactical SBM4 is a fixed, budget-friendly brace that requires no carbine extension or castle nut, and it needs a 1.1–1.25 in pistol buffer tube instead.
Feature and Clearance Considerations
Tube diameter drives brace fit. Mil-spec tubes measure 1.148 inches with a straight profile, while commercial tubes measure 1.168 inches with a tapered back. Braces and stocks are sized for one or the other and do not interchange. Nearly all modern AR braces, including the SB Tactical SBA series, are built for mil-spec carbine tubes. Builders should verify tube diameter before buying a brace, because a mismatched brace will not seat correctly.
Choosing the Right Castle Nut: A Practical Checklist
A practical checklist turns the many variables of castle nut selection into a clear decision path. Builders who work through thread fit, material and finish, and feature balance in order avoid costly mismatches. This section walks through each checkpoint in sequence.
Confirm Thread and Dimension Compatibility
Thread and dimension compatibility form the foundation of any successful build. A castle nut that does not match the receiver extension will not seat correctly, no matter how good its material or finish. Builders should verify fit before assembly begins.
Match the Nut to Your Receiver Extension
The receiver extension sets the thread standard. Most AR-15 and AR-10 platforms use a 1-3/16″–16 thread specification, and a standard mil-spec castle nut matches that pitch. Builders should confirm the buffer tube is mil-spec rather than commercial-spec before ordering. The two profiles differ in diameter, and a nut cut for one will not seat correctly on the other.
Verification follows a few practical steps:
- Use the correct tools.
- Follow the receiver extension manufacturer’s guidance.
- Choose the retention method recommended for the specific design.
- If unsure, have a qualified armorer verify fitment and secure everything properly.
Before assembly, verify the standard, thread, and compatibility with the buffer tube and end plate.
A dry fit catches thread issues early. The builder threads the nut onto the extension by hand and checks for smooth travel. Any binding or wobble signals a mismatch that torque will not fix.
Verify Fit With Your Endplate and Stock
The end plate and stock add another layer of fit. The castle nut captures the end plate against the receiver, and the plate must sit flush before the nut tightens down. Builders should check that the end plate tabs align with the lower receiver and that the rear takedown pin detent and spring seat properly.
Stock systems reference the same receiver extension interface in most cases. Collapsible stocks, fixed stocks, and aftermarket kits all rely on the same slotted nut and end plate arrangement. Builders who swap stocks should keep the original castle nut and end plate unless the new kit specifies otherwise. A quick test fit of the stock over the buffer tube confirms clearance before final assembly.
Match Material and Finish to Your Environment
Materials and finishes decide how long a castle nut holds up in service. The right pairing protects the threads, resists corrosion, and supports long-term reliability. Builders should match the material to the conditions the rifle will face.
Corrosion Exposure and Use Conditions
Corrosion exposure varies widely across builds. A range rifle kept indoors sees little moisture, while a hunting rifle or duty carbine faces rain, humidity, and temperature swings. Material choice should reflect those conditions.
- Surface treatments such as anodizing or coating on titanium castle nuts provide additional protection against environmental factors, enhancing durability.
- Steel is strong and affordable but prone to rust and corrosion in harsh environments, whereas titanium offers superior corrosion resistance and lighter weight, reducing maintenance and extending lifespan.
- Aluminum is lightweight and corrosion-resistant but lacks titanium’s strength for high-stress applications; titanium offers a better strength-to-weight balance.
- Titanium resists corrosion from moisture and chemicals, ensuring a longer lifespan and fewer replacements, which lowers long-term costs.
- In marine conditions (saltwater, humidity, temperature variation), titanium’s corrosion resistance keeps fasteners reliable over time, reducing maintenance and improving safety.
- Selecting the appropriate titanium grade (strength and corrosion resistance) is critical because final product performance depends on material characteristics.
| Materialart | Slotted Nuts | Castle Nuts |
|---|---|---|
| Kohlenstoffstahl | Common, economical | Common, economical |
| Rostfreier Stahl | Corrosion-resistant | Corrosion-resistant |
| Legierter Stahl | High strength | High strength |
Finishes add another layer of protection. Slotted nuts suit indoor and outdoor use, especially in less corrosive environments. Castle nuts offer superior performance in saltwater environments due to robust locking mechanism and material choices. A phosphate or nitride finish on a steel nut raises corrosion resistance without changing dimensions.
Appearance and Long-Term Durability
Appearance matters to some builders, and durability matters to all of them. A black oxide or phosphate finish gives a traditional matte look that matches most mil-spec builds. Nitride and case-hardened coatings offer a darker, more uniform surface and better wear resistance. Stainless steel stands out with a bright finish that some builders prefer on custom projects.
Long-term durability follows the same logic. Carbon steel with phosphate handles dry environments well at low cost. Stainless steel and titanium resist rust in wet or salty conditions and need less maintenance. The right pairing of materials and finishes protects the threads and supports long-term reliability across thousands of rounds.
Balancing Features, Cost, and Simplicity
Features, cost, and simplicity pull in different directions. A builder can add anti-rotation locks, QD mounts, and premium coatings, but each addition raises cost and complexity. The right balance depends on what the build actually needs.
Prioritizing What Matters for Your Build
Priorities shift with the rifle’s role. A duty rifle may justify anti-rotation security and a premium finish. A lightweight build may favor a QD mount and titanium construction. A range rifle rarely needs either, and a plain slotted nut with correct torque and proper installation delivers proven reliability.
Builders should rank their needs before shopping:
- Confirm thread and dimension fit first.
- Match material and finish to the environment.
- Add features only when the build demands them.
- Set a budget that reflects the rifle’s role.
This order keeps the decision grounded. A builder who starts with features often pays for capability the rifle will never use.
Where Each Option Fits Best
Each option has a natural home. A standard mil-spec castle nut fits budget builds, clone builds, and general-purpose rifles. It costs little, meets the original design intent, and accepts a standard armorer’s wrench and torque wrench. Aftermarket castle nuts fit hard-use rifles, builds that need anti-rotation security, and projects where the buffer tube and end plate demand extra clamping force. Premium materials such as titanium and 17-4 stainless steel fit harsh environments and high-vibration applications.
The final choice comes down to matching the nut to the project. Choosing the right castle nut means confirming function, type, material, finish, and build-specific fit. A builder who works through this checklist reaches a confident decision. Choosing the right castle nut also means planning for correct torque and staking from the start. Choosing the right castle nut protects the receiver extension and supports long-term reliability.
Choosing the right castle nut comes down to five criteria: correct function, compatible type and material, appropriate finish, proper installation and staking, and build-specific fit. The best castle nut matches the project’s requirements and budget, whether that means a standard mil-spec unit or a premium aftermarket option. Builders should apply proper torque of 35-40 ft-lbs and stake the nut as the final step. A well-chosen, properly installed castle nut protects the buffer tube threads and supports long-term reliability. Castle nuts reward careful selection, and correct torque and staking complete the job.
FAQ
Does a castle nut require staking?
Staking is not always mandatory, but it is strongly recommended. Staking mechanically locks the nut against the end plate and prevents rotation under recoil. Builders who skip staking risk loosening over time. Proper torque plus staking delivers the most reliable result.
Can a builder reuse a castle nut?
A castle nut can be reused if the threads and notches remain undamaged. Builders should inspect for deformation from prior staking. A nut with worn or flattened notches may not stake securely. Replacement is inexpensive and protects the buffer tube.
What torque should a castle nut receive?
Most specifications call for 35–40 ft-lbs, though some sources cite 38–42 ft-lbs. Builders should follow the receiver extension manufacturer’s guidance. One value does not apply to every aftermarket component. A torque wrench ensures consistent clamping force.
Will an AR-10 castle nut fit an AR-15?
Yes. Both platforms share the same 1-3/16″–16 thread specification, so the castle nut is largely interchangeable. The buffer tube, buffer, and spring differ between platforms. Builders must still match those internal parts to the specific rifle.
Does a castle nut need Loctite?
Blue Loctite helps on rifles that see heavy use, and it prevents loosening between range sessions. Builders should avoid Red Loctite, which makes future removal difficult. Correct torque and staking remain the primary retention methods.
Can a builder install a castle nut without special tools?
An armorer’s wrench and a torque wrench are the core tools. A receiver block stabilizes the lower during the job. Improvised tools such as pliers or punches can damage the nut. Proper tools protect the threads and ensure correct torque.
How often should a builder check the castle nut?
Builders should inspect the nut after each range session during the first few hundred rounds. A witness mark helps spot rotation early. Once the nut proves stable, periodic checks during routine maintenance suffice.
Does a QD sling mount replace the castle nut?
No. A QD sling mount integrates with the end plate or attaches to the nut itself. The castle nut still threads onto the receiver extension and locks the buffer tube. The mount adds sling capability without changing the nut’s core function.