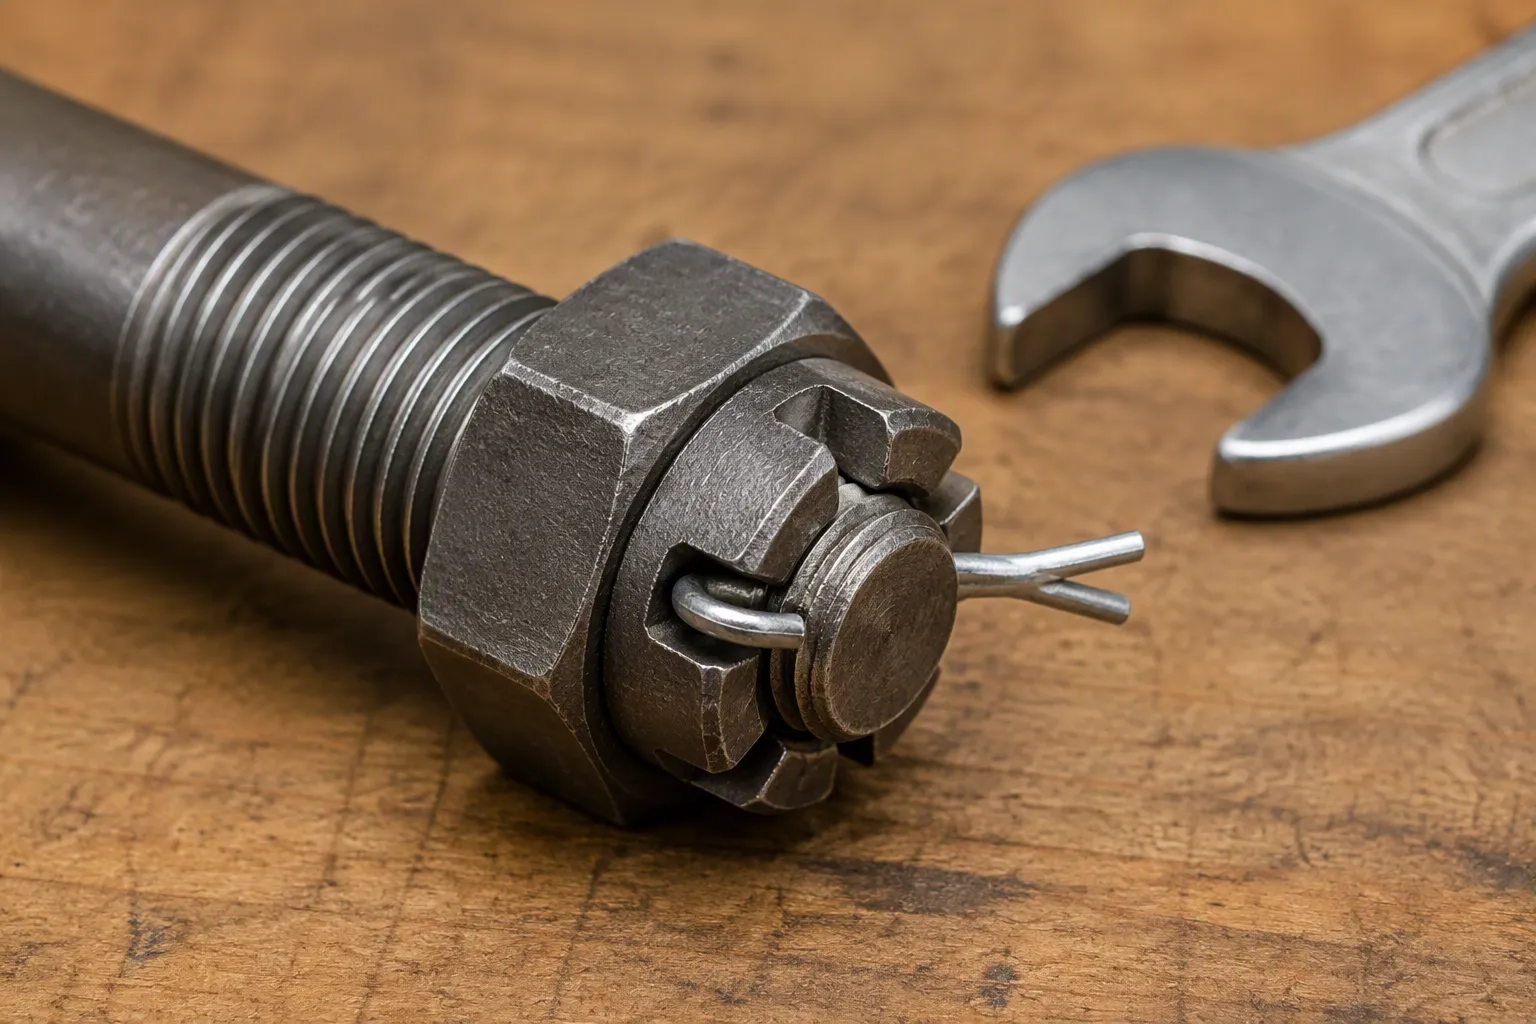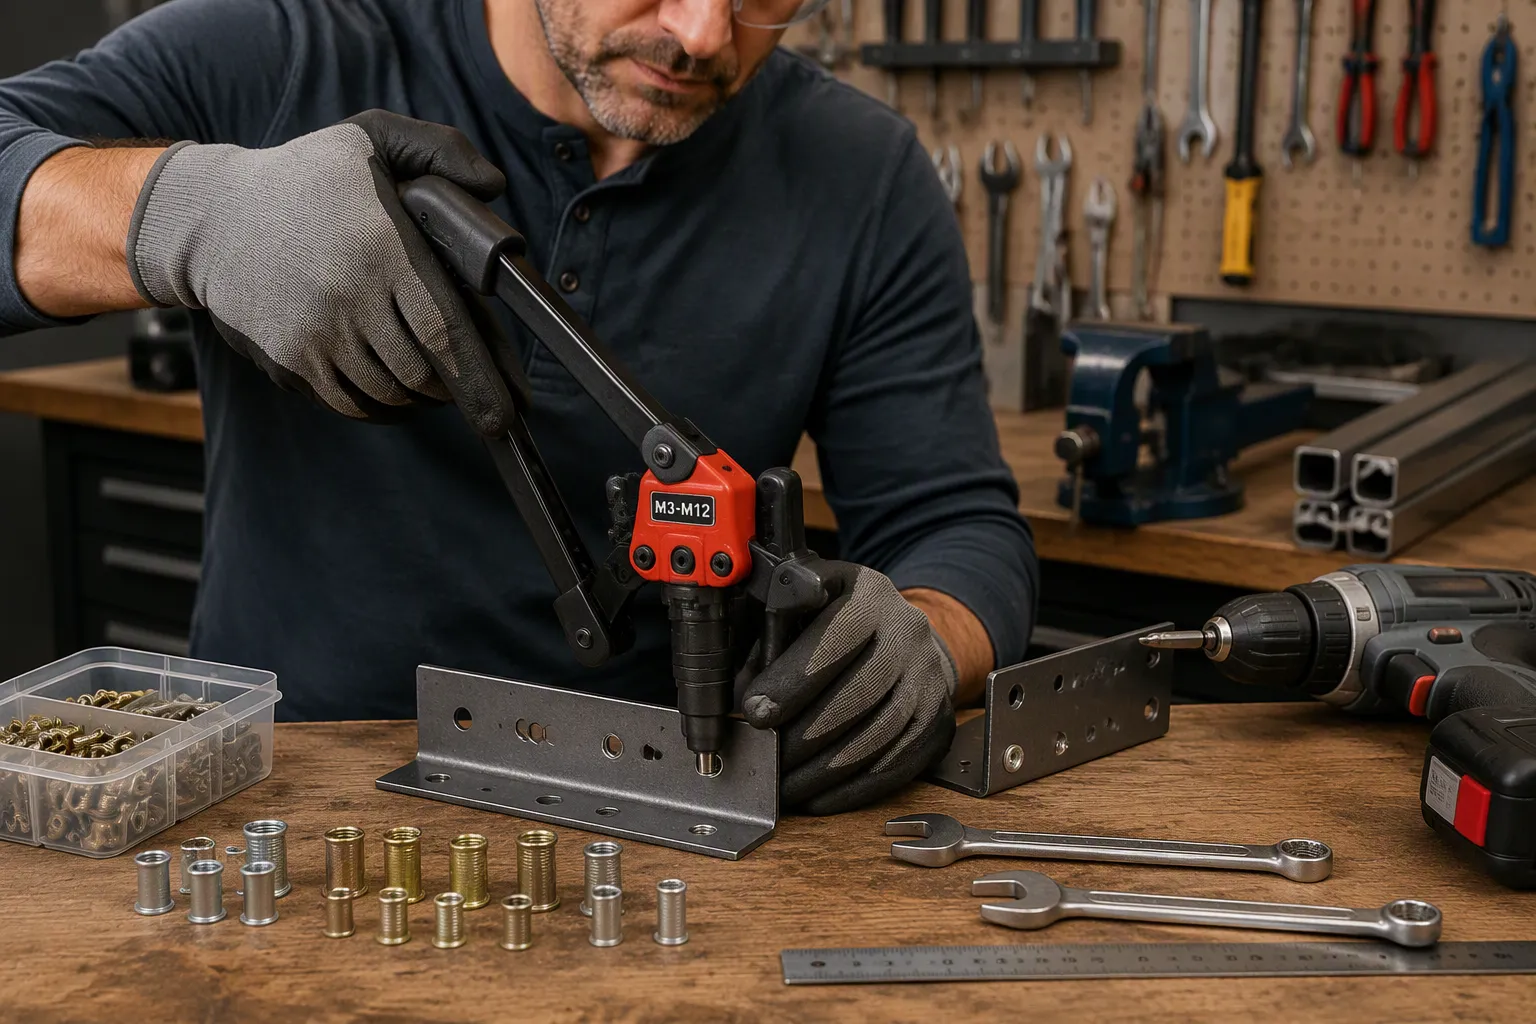
To install a rivnut, an individual must drill a precise hole, insert the صامولة برشام, and secure it using a rivnut tool. These steps enable anyone to achieve a strong thread in thin materials, often where traditional المسامير والبراغي will not work. Rivet nuts offer reliable fastening solutions, especially in applications that require المثبتات المخصصة. Many professionals trust a مُصنِّع أدوات التثبيت المخصصة to supply high-quality rivet nuts for demanding installations.
A rivet nut creates durable threads in surfaces where standard fasteners cannot fit.
Tools and Materials to Install a Rivnut
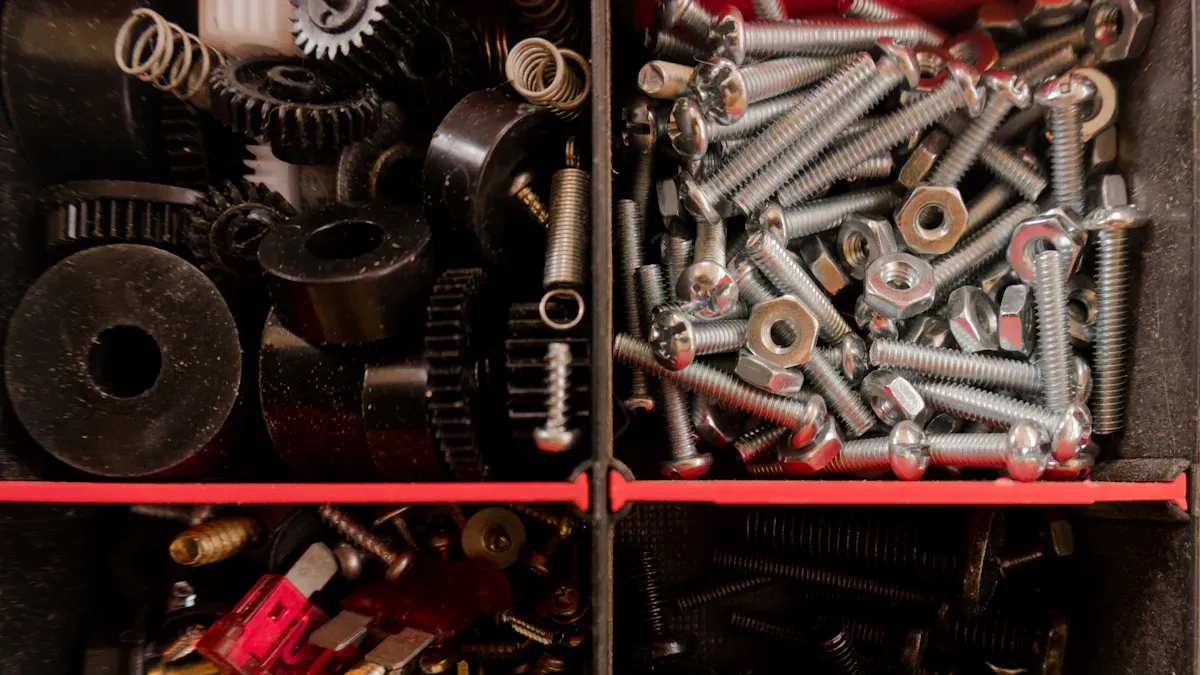
Essential Tools for Rivet Nut Installation
Rivnut tool (manual or power)
A rivet nut tool is the primary device for installing rivet nuts. Industry surveys show that manual rivet nut tools remain the most popular choice, holding about 45% of the market in 2024. Many users prefer these tools for their simplicity and cost-effectiveness. Pneumatic and electric rivet nut tools also see frequent use. Pneumatic models suit various applications, while electric versions are gaining popularity due to technological advancements and increased speed.
- Manual rivet nut tools: Simple and affordable, ideal for most users.
- Pneumatic rivet nut tools: Useful for repetitive tasks or industrial settings.
- Electric rivet nut tools: Fastest-growing segment, offering efficiency and ease of use.
Drill and drill bits
A drill creates the precise hole needed for the rivet nut. The installer should select a drill bit that matches the rivet nut’s outer diameter. Clean, accurate holes ensure a secure fit and reliable threads.
Wrench or spanner (if needed)
Some rivet nut tool designs require a wrench or spanner to hold the tool or mandrel in place during installation. This tool helps prevent slippage and ensures proper compression of the rivet nut.
Materials for Installing Rivet Nuts
Rivet nuts (correct size)
Selecting the correct size rivet nut is essential. The installer must match the rivet nut to the material thickness and the required thread size. Using the wrong size can lead to weak threads or installation failure.
Workpiece (metal, plastic, etc.)
Rivet nuts work well with a variety of materials. Manufacturers recommend the following options for best results:
| نوع المادة | مقاومة التآكل | معالجة السطح |
|---|---|---|
| الصلب | معتدل | Zinc plated |
| الفولاذ المقاوم للصدأ | مرتفع | Often uncoated |
| الألومنيوم | معتدل | Anodized or uncoated |
Steel offers strength for most applications. Stainless steel provides high corrosion resistance, making it suitable for harsh environments. Aluminum is lightweight and resists corrosion, often used in automotive and aerospace projects.
Optional Items for a Smooth Install
Marker or center punch
A marker or center punch helps the installer mark the exact spot for drilling. Accurate marking prevents misaligned holes and ensures the rivet nut sits flush with the surface.
Safety gear (gloves, goggles)
Safety gear protects the installer from metal shavings and debris. Gloves and goggles are essential for safe drilling and handling of sharp materials.
Deburring tool
A deburring tool removes sharp edges from the drilled hole. Clean edges allow the rivet nut to seat properly and reduce the risk of thread damage during installation.
Tip: Preparing all tools and materials before starting the installation process saves time and reduces errors.
Preparing to Install a Rivet Nut
Choosing the Right Rivet Nut
Match rivet nut size to material thickness
Selecting the correct rivet nut size plays a critical role in installation success. Engineers and technicians must consider both the material thickness and the grip range of the rivet nut. A proper match ensures the rivet nut forms a secure, compressed bulb behind the workpiece, distributing the load efficiently. This process prevents pull-through failures and protects thin materials from damage. The following points highlight why size selection matters:
- The right size provides effective load distribution and thread engagement, which are essential for joint efficiency.
- Proper grip range prevents the rivet nut from spinning or pulling out under stress.
- Accurate sizing avoids tool damage and ensures the rivet nut fits the material thickness.
Select correct thread size
Thread size selection determines the compatibility of the fastener with the intended bolt or screw. Installers must verify the thread size matches the application requirements. This step guarantees reliable assembly and prevents cross-threading or stripping during use.
Marking the Hole for Rivet Nut Installation
Use a marker or center punch for accuracy
Precise hole placement is vital for a successful installation. Technicians often use a marker or center punch to indicate the exact drilling location. This practice reduces the risk of misalignment and ensures the rivet nut sits flush with the surface. A center punch also helps guide the drill bit, minimizing wandering and producing a cleaner hole.
Drilling the Hole for Rivet Nut
Select the right drill bit size
Drill bit selection directly affects the fit and strength of the rivet nut. The hole must match the rivet nut’s outer diameter with a slight increase for clearance. For example, a standard 1/8-inch rivet nut requires a hole between 0.128 and 0.133 inches. In thicker materials, installers should increase the hole size slightly, such as 0.133 inches for a 0.25-inch aluminum sheet. Maintaining a tolerance of ±0.003 inches for a 0.1875-inch hole, or ±0.1mm for metric sizes, ensures a precise fit.
Drill straight and clean
A straight, clean hole supports proper rivet nut seating and expansion. Installers should keep the drill perpendicular to the workpiece and apply steady pressure. Common errors during drilling include:
- Using an incorrect hole size, which can cause the rivet nut to spin or fail.
- Selecting the wrong drill bit, leading to oversized or undersized holes.
- Neglecting burr removal, which interferes with rivet nut expansion.
Deburr the hole edges
Deburring removes sharp edges and metal shavings from the hole. This step allows the rivet nut to seat properly and prevents thread damage. A deburring tool or countersink bit works well for this task. Clean edges contribute to a secure, long-lasting installation.
Tip: Careful preparation at each stage increases the reliability and strength of the finished joint.
How to Insert the Rivet Nut
Placing the Rivet Nut in the Hole
Ensure a snug fit
Technicians begin by checking the hole for proper size and cleanliness. The installer should insert the rivet nut into the hole, confirming that it fits snugly without excessive force. A loose fit can compromise the strength of the joint, while a tight fit may deform the workpiece. Proper hole quality remains crucial for successful installations. Improper placement often leads to misalignment, which causes poor load distribution. The risk of spin out or pull out under stress increases when the installer fails to achieve a snug fit. Levels of hole damage, ranging from minor scratches to significant shape changes, directly affect installation quality.
- Proper hole quality ensures secure installation.
- Misalignment results in uneven load distribution.
- Excessive hole damage can cause the rivet nut to spin or pull out.
Note: Always inspect the hole for burrs or irregularities before proceeding. Clean edges help the rivet nut seat correctly.
Insert flush with the surface
After confirming a snug fit, the installer pushes the rivet nut until it sits flush with the workpiece surface. The flange of the rivet nut should rest evenly against the material. A flush installation prevents gaps that could weaken the joint or allow contaminants to enter. If the rivet nut does not sit flush, the installer should remove it and check for debris or burrs in the hole.
Setting Up the Rivnut Tool
Attach the correct mandrel
The next step involves preparing the rivet nut tool for use. The installer selects the correct mandrel size to match the internal threads of the rivet nut. Using the wrong mandrel can damage the threads or prevent proper installation. For projects involving fewer than 100 rivet nuts, a manual tool often suffices. For daily use with hundreds of installations, a power tool offers greater efficiency and consistency.
- Manual rivet nut tools suit small projects.
- Power tools provide speed and reliability for frequent installations.
Thread the rivet nut onto the tool
With the correct mandrel in place, the installer threads the rivet nut onto the rivet nut tool by hand. The threads should engage smoothly, without resistance. Cross-threading can damage both the tool and the rivet nut, so technicians must align the components carefully. Once the rivet nut sits securely on the tool, the assembly is ready for the next step in the process to install a rivet nut.
Tip: Always double-check the alignment before proceeding to avoid installation errors.
How to Install a Rivnut Securely
Using the Rivnut Tool to Install Rivet Nuts
Squeeze or turn the tool to collapse the rivet nut
A technician must follow precise steps to install rivet nuts securely. The process begins with the rivet nut tool set up and the rivet nut placed flush in the hole. They assemble the tool with a bolt, flat washer, nut, and internal star lock washer. The bolt threads into the rivet nut until it bottoms out. A wrench holds the oversized nut steady, preventing the rivet nut from spinning. The technician uses a socket on the bolt head and tightens the bolt. This action collapses the rivet nut, forming a secure bulb behind the workpiece. The installer continues tightening until the bolt cannot turn further. This step ensures the rivet nut compresses fully and locks into place.
Tip: Always use steady force when tightening the rivet nut tool. Sudden movements can cause misalignment or damage.
Check for proper compression
After collapsing the rivet nut, the technician checks for proper compression. The flange should sit flush against the surface, and the bulb must form evenly behind the material. Proper compression prevents the rivet nut from spinning or loosening during use. If the rivet nut does not compress correctly, the installer must repeat the steps to install a rivnut. They inspect the joint for gaps or uneven expansion. A secure installation guarantees reliable threads and strong load distribution.
Removing the Tool After Installation
Unthread the tool carefully
Once the rivet nut compresses, the technician removes the rivet nut tool. They back the bolt out of the insert slowly, avoiding sudden force. Careful unthreading prevents damage to the internal threads. The installer checks that the tool disengages smoothly. If resistance occurs, they stop and inspect for cross-threading or debris.
Note: Removing the tool gently preserves the integrity of the rivet nut and ensures a clean installation.
Inspect the installed rivet nut
The final step involves inspecting the installed rivet nut. The technician examines the flange for flush seating and checks the internal threads for damage. They verify that the rivet nut remains secure and does not spin in the hole. Proper inspection confirms that all steps to install rivet nuts were followed. If the rivet nut shows signs of misalignment or thread damage, the installer must repeat the installation process. A thorough inspection ensures the rivet nut will provide strong, reliable threads for future fastening.
Callout: Quality control at this stage prevents costly repairs and guarantees the success of the project.
Tips to Install a Rivnut Without Mistakes
Common Mistakes When Installing Rivet Nuts
Using the wrong hole size
Many technicians encounter problems when they select an incorrect hole size for rivet nut installation. An oversized hole can cause the rivet nut to spin or fail under load, while an undersized hole may deform the workpiece or prevent proper seating. Inappropriate sizing often leads to joint failure and structural issues. Technicians must always measure and verify hole diameter before proceeding.
- Using incorrect installation tools can lead to inefficient joints and part failure.
- Ignoring load requirements may result in structural damage and safety hazards.
- Failing to consider environmental factors can cause fastener degradation and corrosion.
Each mistake can compromise the strength of the joint. For example, improper hole sizing prevents the rivet nut from engaging securely, which increases the risk of joint failure.
Over-tightening or under-tightening
Applying too much or too little force during installation affects the performance of the rivet nut. Over-tightening can damage threads or distort the workpiece, while under-tightening leaves the rivet nut loose and unreliable. Technicians must apply controlled torque and stroke to achieve optimal compression.
| Recommended Solutions for Rivet Nuts | الوصف |
|---|---|
| Match rivet nut size and material | Ensure compatibility with the application to prevent issues. |
| Use precise hole diameters | Follow grip-range guidelines to avoid installation problems. |
| Apply controlled torque and stroke | Prevents over-tightening or under-tightening during installation. |
| Maintain proper alignment | Ensures effective installation and tool performance. |
| Use reliable tools | Reduces the risk of installation errors. |
Properly setting the rivet nut avoids damage to both the material and the tool. Following installation guidelines ensures optimal performance.
Skipping deburring
Skipping the deburring step leaves sharp edges and metal shavings around the hole. These imperfections can interfere with rivet nut expansion and damage threads. Technicians must always use a deburring tool or countersink bit to clean the hole before inserting the rivet nut.
Tip: Clean edges allow the rivet nut to seat properly and prevent thread damage during installation.
Pro Tips for Installing Rivet Nuts
Practice on scrap material first
Before working on the final project, technicians should practice installing rivet nuts on scrap material. This approach helps them refine their technique and identify potential issues. Practicing reduces the risk of mistakes and improves confidence.
- Utilize rivet-nut tools designed to streamline the installation process, ensuring secure connections in thin materials.
- Choose tools that enhance load-bearing capacity, which is crucial for the strength of the assembly.
Use thread locker for extra hold
Applying a thread locker to the bolt or screw increases the security of the joint. Thread locker prevents loosening caused by vibration or repeated use. Technicians often use this method in automotive and industrial applications where reliability is critical.
Callout: Thread locker adds an extra layer of protection against fastener loosening.
Check alignment before installing
Alignment plays a key role in rivet nut installation. Technicians must ensure the rivet nut sits perpendicular to the workpiece and the tool engages the threads correctly. Misalignment can cause uneven load distribution and joint failure.
- Automate the installation process to save time and reduce labor costs associated with traditional methods.
Note: Careful alignment and preparation at every stage lead to strong, reliable threads and long-lasting joints.
Troubleshooting Rivet Nut Installation
Rivet Nut Spins in the Hole
Causes and fixes
A rivet nut that spins in the hole signals a problem with installation or material compatibility. Several factors contribute to this issue:
- Improper hole sizing often leads to insufficient grip.
- Thin or soft base materials fail to provide enough friction.
- Incomplete seating during installation leaves the rivet nut unstable.
- Using a smooth-body rivet nut on smooth sheet metal increases the risk of rotation.
Spinning occurs when the friction between the bolt and the rivet nut exceeds the friction between the insert and the material. This situation, known as breakaway torque, causes the rivet nut to turn instead of staying fixed. Technicians must ensure the hole size matches specifications and the rivet nut is fully seated. Selecting a knurled body rivet nut enhances grip and prevents rotation. Hex body rivet nuts resist spin-out by locking into hex-shaped or dimpled holes, creating a mechanical interlock. These nuts perform well in high-torque environments, such as truck chassis and engine compartments.
Tip: Always verify material thickness and choose the correct rivet nut style for the application.
Rivet Nut Won’t Collapse Properly
Tool setup problems
When a rivet nut fails to collapse, the root cause often lies in tool setup or material selection. Common reasons include:
- The rivet nut spins during installation, indicating poor grip.
- Incorrect hole size, either too small or too large, weakens the connection.
- The material thickness exceeds the rivet nut’s designed grip range.
- Under- or over-torquing results in loose fits or damage.
- Spin-out occurs when the nut rotates with the tool in a smooth hole.
Technicians must use the correct installation tools and calibrate them to apply the proper force. Matching the nosepiece with the rivet nut size prevents deformation. Regular maintenance and inspection of tools ensure consistent performance. Insufficient or excessive bulging requires rework, while stripped threads compromise assembly integrity. To install a rivet nut correctly, drill a hole that matches the nut size, attach the nut to the tool, insert it, and apply force until the nut collapses and forms a bulge on the blind side.
Note: Proper tool setup and material selection prevent most collapse issues.
Damaged Threads After Installing Rivet Nuts
Prevention and repair
Damaged threads reduce the reliability of the installed rivet nut. Several causes exist:
- Over-tightening damages threads and weakens the joint.
- Cross-threading occurs when the bolt does not align with the nut.
- Low-quality rivet nuts compromise thread integrity.
Technicians can prevent thread damage by tightening bolts only finger-tight when plugging holes. Avoid using threadlocker or locking washers directly on the rivet nut head. Lubricating bolt threads with waterproof grease reduces friction and wear. Never force a bolt into a tight thread. Regularly remove and clean cargo cages or bottle cages, then reapply grease to maintain thread quality. Using all mounting points at once distributes load and prevents stress on a single rivet nut. Avoid attaching mounts that do not contact the rivet nut head or using devices that void warranties.
| Best Practices for Thread Integrity | الوصف |
|---|---|
| Finger-tight bolts | Prevents over-tightening and thread damage |
| Lubricate threads | يقلل من الاحتكاك والتآكل |
| تجنب استخدام الصواميل المقفلة | يحافظ على سلامة صامولة البرشام |
| نظف المكان وأعد وضع الشحم | يحافظ على جودة الخيط |
ملاحظة: يؤدي التركيب الدقيق والصيانة المنتظمة إلى إطالة عمر خيوط صواميل التثبيت ويضمنان أداءً موثوقًا.
أين يتم تركيب صواميل التثبيت
مشاريع السيارات
يعتمد فنيو السيارات على صواميل التثبيت لإجراء إصلاحات فعالة وموثوقة. توفر أدوات التثبيت هذه روابط قوية في الصفائح المعدنية الرقيقة، وهو ما يشيع استخدامه في هياكل المركبات وإطاراتها. تعمل صواميل التثبيت على تبسيط عملية التجميع في المناطق التي يكون فيها اللحام غير عملي أو غير ممكن. فهي تتيح نقاط تثبيت آمنة في الأماكن التي يصعب الوصول إليها، مثل داخل ألواح الأبواب أو حجرات المحرك. وتسهم هذه الطريقة في تسريع عمليات الإصلاح وتقليل تكاليف العمالة. يمكن للميكانيكيين تركيب صواميل التثبيت بسرعة، مما يزيد من الإنتاجية ويقلل من خطر إتلاف مكونات السيارة الحساسة. تحدد العديد من شركات تصنيع السيارات الآن استخدام صواميل التثبيت لتركيب الدعامات، وتثبيت الملحقات، وتقوية الوصلات الهيكلية. ويضمن استخدامها إصلاحات تدوم طويلاً وأداءً ثابتًا في البيئات الصعبة.
نصيحة: تساعد صواميل التثبيت المتخصصة المتخصصين في مجال السيارات على تجنب الحاجة إلى عمليات لحام معقدة أو الوصول إلى جانبي اللوحة.
إصلاحات المنزل
غالبًا ما يختار أصحاب المنازل والمقاولون صواميل التثبيت في المشاريع التي تتطلب خيوطًا قوية ودائمة في المواد الرقيقة. وتُعد هذه المثبتات خيارًا مناسبًا في الرفوف المعدنية، والخزائن، وإطارات النوافذ. يقارن الجدول التالي صواميل التثبيت مع أدوات التثبيت التقليدية في حالات الإصلاح المنزلية الشائعة:
| ميزة | صواميل التثبيت | المثبتات التقليدية |
|---|---|---|
| الوزن | أخف وزناً | أثقل |
| قابلية الإزالة | لا يمكن إزالتها بسهولة | يمكن تفكيكها بسهولة |
| الانحدار الهيكلي | يقلل من التمايل في الأنظمة الإنشائية | لا يقلل من الانحراف |
| تعقيد التثبيت | يتطلب ثقوبًا محفورة مسبقًا | يتطلب حفر ثقوب تصريفية |
| صعوبة الإصلاح | إصلاحها أكثر صعوبة | أسهل في الإصلاح والاستبدال |
تقلل صواميل التثبيت من الحركة في الأنظمة الهيكلية، مما يزيد من ثبات الرفوف والتركيبات. ورغم أنها تتطلب تركيبًا دقيقًا، إلا أنها تضفي مظهرًا أنيقًا واحترافيًّا. ويقدّر أصحاب المنازل المتانة والقوة التي تضيفها صواميل التثبيت إلى مشاريع الإصلاح التي يقومون بها.
الأعمال اليدوية والهوايات
يستخدم العديد من الهواة والمبدعين صواميل التثبيت في مشاريعهم اليدوية. وتوفر أدوات التثبيت هذه العديد من المزايا للأعمال الإبداعية:
- نوتسيرتس إنشاء مواضيع دائمة, ، والتي تتيح إزالة البراغي وإعادة تركيبها بسهولة.
- تُستخدم صواميل التثبيت مع الألومنيوم والصلب والألياف الزجاجية والبلاستيك والخشب، مما يجعلها مناسبة لمجموعة واسعة من تطبيقات الأعمال اليدوية.
- تؤدي عملية التركيب إلى الحصول على تشطيب متساوي، مما يحسّن مظهر المشاريع التي يتم تنفيذها بنفسك.
- يمكن للمصنّعين استخدام صواميل التثبيت لتصنيع علب أو أثاث أو معدات مخصصة للحصول على نتائج احترافية.
يقدّر هواة الأعمال اليدوية التنوع والموثوقية اللذين تتميز بهما صواميل التثبيت. فيمكنهم تجربة مواد وتصاميم مختلفة، وهم على ثقة من أن أدوات التثبيت هذه ستثبت بإحكام. وتساعد صواميل التثبيت في تحويل الأفكار البسيطة إلى منتجات نهائية متينة وجذابة.
ملاحظة: تمنح صواميل التثبيت المُبرشمة هواة الأعمال اليدوية المرونة اللازمة لتجميع المكونات وتفكيكها دون الإضرار بالمادة الأساسية.
يؤكد خبراء القطاع على عدة خطوات أساسية لتركيب «البرغي المبرشم» بنجاح:
- احفر ثقبًا نظيفًا وبالحجم الصحيح.
- اختر المغزل وقطعة الأنف المناسبين.
- قم بتركيب صامولة البرشام على المغزل.
- أدخل صامولة البرشام في الفتحة.
- اضغط على مقبضي الأداة لتثبيت صامولة البرشام.
- أطلق سراح الأداة.
- افحص العمل المنجز.
ينصح الخبراء بارتداء معدات السلامة، وفحص الأدوات، وتجنب استخدام القوة المفرطة. يمكن لأي شخص تركيب صامولة برشام والحصول على خيوط متينة لأغراض الإصلاح أو المشاريع. ويساعد اتباع هذه النصائح على تجنب الأخطاء ويضمن الحصول على نتائج موثوقة.
الأسئلة الشائعة
ما هي «ريفنوت»؟
الريفنوت هو مادة ملولبة يقوم الفنيون بتركيبها في المواد الرقيقة. وهو يوفر خيوطًا متينة للمسامير أو البراغي في الأماكن التي لا يمكن فيها استخدام أدوات التثبيت التقليدية.
هل يمكن لأي شخص تركيب صواميل برشامية دون استخدام أداة خاصة؟
يمكن للفنيين استخدام أدوات مرتجلة، لكن الأداة المخصصة لتركيب «البرغي المبرشم» تضمن الضغط المناسب والتركيب الموثوق. وتوصي الشركات المصنعة باستخدام الأداة الصحيحة للحصول على أفضل النتائج.
ما الفرق بين صامولة التثبيت والبرشام العادي؟
تُنشئ «البرشام الملولب» خيوطًا داخلية للبراغي، في حين أن «البرشام العادي» يقتصر دوره على ربط المواد ببعضها. وتسمح «البرشام الملولب» بإزالة أدوات التثبيت وإعادة تركيبها.
ما هي المواد التي يمكن تركيب صواميل التثبيت عليها؟
تُستخدم صواميل التثبيت في المعادن والبلاستيك والألياف الزجاجية والخشب. ويقوم الفنيون باختيار نوع صامولة التثبيت المناسب بناءً على سماكة المادة ومتطلبات المتانة.
كيف يمكن لمن شخص ما منع صامولة التثبيت من الدوران؟
يمنع تحديد الحجم المناسب للثقب واختيار صامولة برشام ذات جسم مخرش أو سداسي الشكل حدوث الدوران. يجب على الفنيين التأكد من أن صامولة البرشام تستقر بشكل مستوٍ وتضغط بشكل كامل.
هل صواميل التثبيت قابلة لإعادة الاستخدام؟
تظل صواميل التثبيت مثبتة في المادة. ويمكن للفنيين إزالة البراغي أو المسامير وإعادة تركيبها عدة مرات دون الإضرار بالخيوط.
ما هو حجم مثقاب الحفر الذي ينبغي استخدامه لتركيب صامولة البرشام؟
يجب على المُركِّبين مطابقة حجم مثقاب الحفر مع القطر الخارجي للبرغي المُبرشام. وتوفر الشركات المصنعة جداول المقاسات لكل نوع من أنواع البراغي المُبرشام. ويضمن تحديد المقاس بدقة ثبات التثبيت.