Builders use carriage bolts to securely fasten two 4×4 posts. The process involves drilling through each post. A square neck under the head of the болт с цилиндрической головкой grips the wood of the first post. This feature stops the bolt from spinning as one tightens the nut on the opposing post. The choice of bolts is critical to fasten the posts securely. For unique projects, a производитель крепежных изделий на заказ может предоставить нестандартные крепежные элементы made via a specific литье болтов process.
Required Tools: 🛠️
- Drill and appropriate drill bit
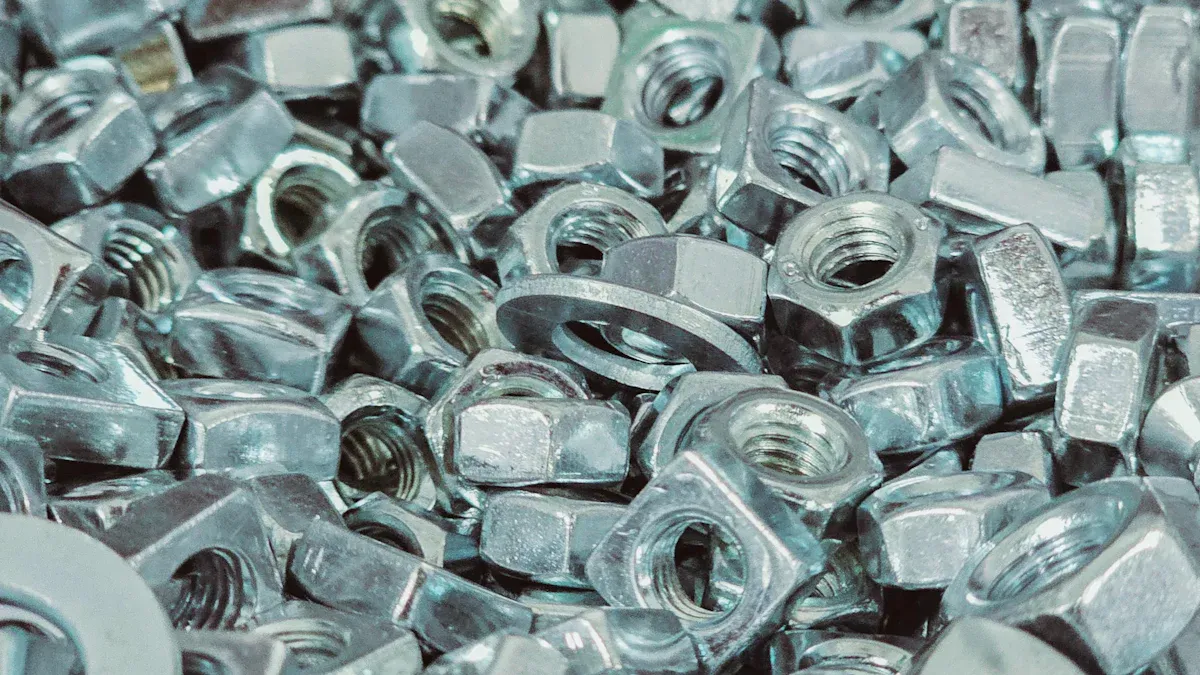
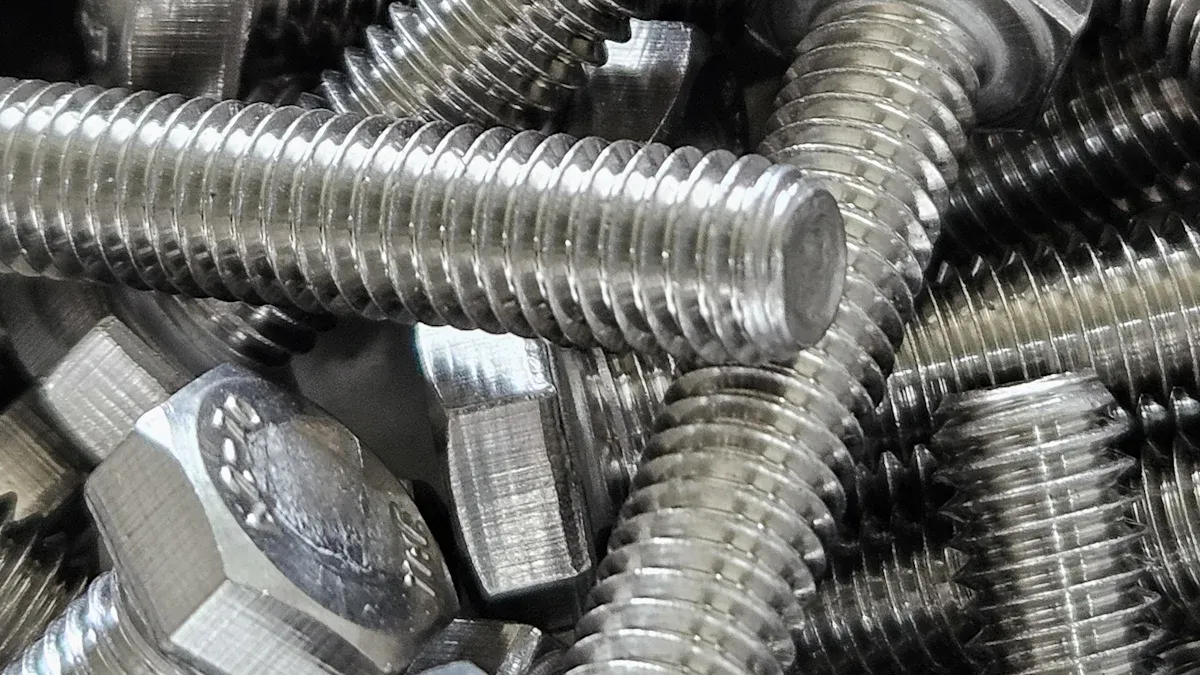
- Correctly sized bolts, washers, and nuts
- Wrench or socket set
Step 1: Selecting the Right Carriage Bolts and Hardware
Selecting the correct hardware is the most critical decision for ensuring a project’s safety and longevity. The diameter and length of the carriage bolts directly impact the structural integrity of the connection between two 4×4 posts. A builder must match the hardware to the project’s specific load requirements.
How to Determine Bolt Diameter
The bolt’s diameter determines its strength. A project’s demands will dictate the necessary diameter for the bolts.
For Light-Duty Projects (e.g., garden boxes)
Lighter projects do not require maximum shear strength. Builders often use 3/8-inch diameter bolts for applications like assembling outdoor furniture или connecting fence rails to posts. These bolts provide adequate strength for non-structural joints between posts.
For Heavy-Duty Construction (e.g., deck railings)
Structural integrity is paramount in heavy-duty construction. Industry standards and building codes mandate 1/2-inch diameter bolts for securing a deck railing post or any structural deck post. Using smaller bolts for a deck post connection is dangerous and can lead to catastrophic failure. These larger bolts provide the necessary strength to resist lateral forces on the posts.
Common Diameters for 4×4 Posts
Two diameters are prevalent for projects involving 4×4 posts. The choice depends entirely on the structural load the post must bear.
Using 3/8-Inch Bolts
A 3/8-inch bolt has a load capacity of approximately 200 pounds per inch of thread. This makes it suitable for fastening posts in projects with minimal load, but it is insufficient for a deck post.
Using 1/2-Inch Bolts
A 1/2-inch bolt offers significantly more strength, with a load capacity of 272 pounds per inch of thread. This is the standard for any structural connection, including a deck frame, pergola, or load-bearing post.
Quick Guide: Bolt Diameters ⚙️
Диаметр Typical Use Cases for 4×4 Posts 3/8″ Benches, fence rails, non-structural post connections 1/2″ Deck railings, deck framing, pergolas, structural posts
How to Calculate Bolt Length
Proper bolt length ensures a secure connection without creating a snag hazard. A builder calculates the length by adding the depth of the wood, the hardware thickness, and a small amount of extra thread.
The Basic Formula: (Wood Depth + Washer/Nut + Extra Thread)
The formula is straightforward. A builder sums the actual thickness of all materials the bolt will pass through and adds a buffer for the hardware and extra threads.
Example for Two 4x4s: (3.5″ + 3.5″ + 0.25″ + 0.5″ = 7.75″)
A standard 4×4 post is actually 3.5 inches thick. The calculation for joining two posts is:
- Wood Depth: 3.5″ (first post) + 3.5″ (second post) = 7.0″
- Hardware: A washer and nut add about 0.25″
- Extra Thread: A professional installation requires about 0.5″ of extra thread for full nut engagement.
- Total: 7.0″ + 0.25″ + 0.5″ = 7.75″
Choosing the Final Length (Rounding up to an 8″ bolt)
Bolts are sold in standard lengths. A builder must round the calculated length up to the next available size. For a 7.75-inch requirement, an 8-inch bolt is the correct choice. This ensures the nut can be fully tightened on the posts.
Step 2: Choosing the Correct Drill Bit for the Job
A builder’s choice of drill bit directly affects the quality of the connection. The right bit creates a clean, straight path for the hardware. The wrong bit can compromise the entire joint between the two posts.
The Golden Rule: Match Bit Diameter to Bolt Diameter
The most important rule is to match the drill bit diameter exactly to the bolt shank diameter. This precision is not optional; it is fundamental to how a carriage bolt functions.
Why a 1/2″ Bolt Needs a 1/2″ Hole
A 1/2-inch bolt requires a 1/2-inch hole. The hole diameter must match the shank of the bolt, not the size of its head. This precise fit is essential. The square neck under the bolt head is designed to sit snugly within the drilled hole of the first post. This grip provides the necessary resistance against rotation, preventing the bolt from spinning as a builder tightens the nut on the opposite post.
The Problem with Oversized or Undersized Holes
Selecting an incorrect bit size leads to immediate problems. A builder must avoid these common errors to ensure a secure connection for each post.
- Using a drill bit that is too large will create a loose fit, allowing the bolts to shift and loosen over time.
- Using a drill bit that is too small will prevent the carriage bolts from being inserted into the holes, stopping the project completely.
Recommended Drill Bits for 4×4 Posts
Different drill bits offer unique advantages. For drilling through thick material like two 4×4 posts, the choice of bit is critical for success.
Auger Bits for Clean, Straight Holes
Professionals prefer auger bits for drilling through multiple posts. Their design is perfectly suited for creating deep, precise holes in wood.
Advantages of Auger Bits ⚙️
- Deep Drilling: They can easily drill through the full 7-inch depth of two posts.
- Clean Holes: Sharp spurs on the tip produce uniform and smooth holes with minimal splintering.
- Easy Drilling: A guide screw at the tip pulls the bit through the wood, reducing the downward force a builder needs to apply.
- Efficient Waste Removal: Wide, deep flights clear wood shavings effectively, preventing the hole from clogging during a continuous pass.
Spade Bits for Fast Drilling
Spade bits drill holes quickly, but they are a poor choice for this task. Their aggressive, flat design often causes more problems than it solves when working with a thick post. A builder should be aware of their significant disadvantages:
- They create rough holes and often cause significant splintering on both entry and exit.
- Controlling a spade bit is challenging, making it difficult to drill a perfectly straight hole through both posts.
- They have limited depth, requiring a builder to stop and clear chips frequently.
When to Use a Standard Twist Bit
A standard twist bit is a common tool found in most workshops. It can work for a single, shallow hole in a post. However, it is not ideal for drilling through two posts at once. The flutes on a twist bit are shallow and can clog with wood shavings, generating excess heat and creating a messy hole.
Step 3: Preparing and Drilling the 4×4 Posts

With the correct hardware selected, a builder’s focus shifts to execution. Proper preparation and a precise drilling technique are essential for a successful installation. These steps ensure the bolt passes cleanly through both posts, resulting in a strong and stable connection for each post.
How to Prepare for Drilling
Careful preparation prevents common mistakes like misalignment and wood damage. A builder should never rush this stage; accuracy here saves significant time and materials later.
Align and Securely Clamp the Posts Together
First, a builder must perfectly align the two 4×4 posts. The faces of the posts should be flush and square. Once aligned, they must be clamped together tightly. Experienced users consistently clamp their work. Clamping prevents the posts from shifting during drilling, which would misalign the hole. More importantly, it secures the workpiece. Not clamping the posts increases the risk of ‘snatch’ as the drill bit breaks through the second post. This sudden grab can tear out material, chip the surface, and damage the workpiece.
Безопасность прежде всего! clamping is a crucial step for successful and safe drilling. It provides the stability needed for an accurate hole through each post.
Measure and Mark the Exact Center for the Hole
Accurate marking guides the drill bit. A builder can use a taut string line between stakes to establish a straight guide for a row of posts. They mark the center of each post location along this line. For a single connection between two posts, a builder uses a tape measure and a square to find the exact center point for the bolt hole on the first post.
A builder must also consider the edge distance. The National Design Specification (NDS) provides guidelines to prevent wood from splitting. For a ½-inch diameter bolt, a minimum edge distance of ¾ inch is required. Marking the hole too close to the edge of the post compromises the wood’s integrity.
The Drilling Technique
The drilling process demands control and precision. A steady hand and the right technique will produce a clean hole that runs straight through both posts.
How to Keep the Drill Perpendicular
Drilling a perfectly straight hole through 7 inches of wood is challenging. A builder must keep the drill perpendicular (at a 90-degree angle) to the face of the post. Here are two professional techniques to ensure alignment:
- Nail and Level Sighting: A builder can hammer a long nail into the post right next to the marked hole. They use a level to make the nail perfectly plumb. This nail then serves as a visual guide to sight against while drilling, ensuring the drill bit stays straight.
- Drill-Bit Plumb Bob: A builder can hang a small weight from a ring placed on the drill bit’s shank. When the drill is held level, the weight hangs steady. This provides real-time feedback, helping the builder maintain a level path through the posts.
Drilling Through Both Posts in a Single, Steady Motion
A builder should aim to drill through both posts in one continuous pass. This requires the right drill speed. For drilling deep holes in a thick post, a lower speed with higher torque is most effective. Drilling too fast generates excess heat, which can dull the drill bit and even harden the wood surface. A builder should apply firm, steady pressure, letting the bit do the work. If drilling progress slows and requires excessive force, it is a sign the bit is working inefficiently.
Clearing Wood Shavings for a Clean Path
An auger bit is designed to clear wood shavings automatically. However, when drilling through two deep posts, even an auger bit can get clogged. A builder should periodically pull the bit partially out of the hole while it is still spinning. This action, known as pecking, ejects wood chips from the flutes. Clearing the path prevents the bit from binding and ensures a cleaner hole through the final post.
Step 4: The Carriage Bolt Installation Process

After drilling a precise hole, a builder begins the final installation. This process transforms the loose components into a rigid, structural connection. The installation involves three key phases: seating the bolt to engage its anti-rotation feature, placing the hardware correctly, and applying the proper tightening torque to secure the posts.
How to Seat the Carriage Bolt
Properly seating the carriage bolt is the first and most crucial step. This action engages the square neck with the wood of the first post, which is essential for a successful installation.
Insert the Bolt Through the Drilled Hole
A builder inserts the carriage bolt through the hole, passing it through both posts. The fit should be snug. If the hole is precise, the bolt may require a light push or tap from a hammer to slide completely through the 7-inch depth of the two posts.
Firmly Tap the Bolt Head with a Hammer to Set the Square Neck
With the bolt in place, a builder must set the square neck into the wood of the entry-side post. This step prevents the bolts from spinning during tightening.
- 1. Gentle Tapping: A builder uses a hammer or rubber mallet to gently tap the domed head of the bolt.
- 2. Feel the Bite: The builder should feel the square neck begin to embed itself into the wood fibers of the post.
- 3. Avoid Aggressive Force: Excessive force can split the wood or damage the bolt’s protective coating. The goal is to start the seating process, not to drive the bolt in like a nail.
As the nut is tightened later, it will pull the bolt head, drawing the square neck deeper into the wood. A correctly seated bolt will ultimately have its head flush with the surface of the wood, confirming a secure and locked position.
How to Install the Fastening Hardware
With the bolt seated, the next step is to install the hardware on the threaded end. The order and type of hardware are critical for distributing pressure and ensuring the connection’s longevity.
Place the Washer Over the Threaded End
A builder slides a washer over the threaded end of the bolt before adding the nut. The washer is not an optional component; it serves several vital functions to protect the post.
Why Washers Are Essential ⚙️
A washer’s primary job is to distribute the load from the nut across a wider surface area. This action prevents the nut from digging into and crushing the wood fibers of the post as it is tightened. It also provides a smooth, consistent surface for the nut to turn against, ensuring a more secure and long-lasting connection by helping the bolts resist loosening over time.
Pro Tip: Hardware for Treated Lumber When working with pressure-treated posts, a builder must use specific hardware to prevent corrosion. Building codes, such as the International Building Code (2304.10.6.1), mandate fasteners and washers made from corrosion-resistant materials. These include:
- Hot-dipped galvanized steel
- Stainless steel
- Silicon bronze
- Copper
Hand-Thread the Nut onto the Bolt
A builder should always start the nut by hand. He or she will turn the nut two or three full rotations onto the bolt’s threads. This simple action ensures the nut is not cross-threaded, which would damage the bolts and prevent proper tightening.
How to Properly Tighten the Nut
The final step is to tighten the nut to create the clamping force that holds the posts together. This requires the right tool and technique to achieve a strong connection without damaging the wood.
Use a Socket or Adjustable Wrench
A socket wrench with the correct size socket is the preferred tool for this job. It provides excellent grip and allows for steady, controlled tightening. An adjustable wrench is also a suitable alternative if a socket set is unavailable.
Tighten Until the Washer Presses Slightly into the Wood
A builder tightens the nut until it is snug. The visual cue for proper tension is when the washer begins to press slightly into the surface of the wood. For a 1/2-inch carriage bolt in a softwood like pine, professionals often use the “snug plus a quarter turn” method. This technique reliably achieves a torque of approximately 10-15 ft-lbs, providing sufficient clamping force without over-compressing and damaging the wood fibers of the posts.
Step 5: Troubleshooting Common Installation Mistakes
Even a well-planned installation can encounter issues. A builder who understands common problems can quickly implement effective solutions. This knowledge ensures the final connection for each post is secure and professional.
Problem: The Bolt Spins When Tightening
A spinning bolt is a frequent frustration. This issue occurs when the square neck fails to grip the wood of the entry-side post, preventing the nut from tightening.
Solution: Ensure the Hole Diameter is Correct
The primary cause of a spinning bolt is an oversized hole. A builder must confirm the drill bit diameter exactly matched the bolt diameter. A loose fit allows the entire bolt to rotate freely within the post.
Solution: Reseat the Square Neck into the Wood
A builder can often solve the problem by reseating the bolt. He or she should hold the nut with a wrench and strike the bolt head firmly with a hammer. This action drives the square neck deeper into the wood fibers of the post, creating the necessary grip. If the hole in the post is slightly too large, a builder can try advanced methods.
Advanced Fixes for a Spinning Bolt 🧰
- Apply clamping pressure. Tightening the nut will often pull the square neck into the wood, stopping the spin.
- Place a serrated star washer under the bolt head to add extra grip against the post.
- Move up to the next larger bolt size. A builder can use a square file to carefully enlarge the hole in the post for a new, snug fit.
Problem: The Wood Cracks or Splits
Древесина — это натуральный материал, подверженный повреждениям. Трещины или расщепления вокруг головки болта или шайбы нарушают структурную целостность стойки.
Решение: Избегайте чрезмерной затяжки гайки
Чрезмерный крутящий момент является основной причиной раскалывания древесины. Строитель должен затягивать гайку только до тех пор, пока шайба слегка не вдавится в дерево. Использование метода “плотно плюс четверть оборота” обеспечивает достаточную силу зажима, не разрушая волокна древесины стойки.
Решение: Всегда используйте шайбу для распределения давления
Строитель никогда не должен завершать установку без шайбы. Шайба распределяет зажимное усилие гайки на большую площадь. Этот простой компонент необходим для предотвращения врезания гайки в стойку и её раскалывания.
Проблема: Неправильная длина болта
Неправильная длина болта создает серьезные проблемы. Выбор влияет как на безопасность, так и на конечный внешний вид проекта.
Почему слишком короткий болт непригоден
Слишком короткий болт — это критический дефект. Он не позволяет гайке полностью накрутиться на резьбу. Это приводит к ненадежному соединению, которое не может должным образом закрепить стойку и со временем ослабнет. Строитель должен заменить любой слишком короткий болт.
Как поступить, если болт слишком длинный (риск зацепа)
Слишком длинный болт создает риск зацепа и выглядит непрофессионально. Строитель может безопасно обрезать излишнюю длину после завершения установки.
- Наденьте гайку на болт, продвинув её за предполагаемую линию отреза.
- Надежно закрепите стойку и болт, чтобы предотвратить смещение.
- Используйте ножовку или отрезной круг , чтобы обрезать излишнюю длину болта.
- Открутите гайку с болта. Это действие очистит и восстановит резьбу, удалив заусенцы, образовавшиеся при резке.
Теперь строитель понимает полный процесс установки. Он может выбрать правильный крепеж, просверлить точное отверстие и надежно закрепить соединение. Эти знания обеспечивают прочное соединение для множества проектов, от простого настила до сложной конструкции террасы. Теперь строитель может уверенно браться за проекты, требующие надежного соединения.
Проекты, которые вы можете построить 🏗️
- Правильный крепление стойки ограждения террасы для новой террасы.
- Прочное соединение для забора на заднем дворе.
- Устойчивый каркас настила для большой террасы.
Обладая этими навыками, строитель может создавать надежные конструкции, зная, что каждое соединение безопасно.
Частые вопросы
Можно ли повторно использовать старые каретные болты для новой террасы?
Строителю следует избегать повторного использования старых болтов для новой террасы. Ржавчина или скрытые напряжения могут снизить их прочность. Новый, соответствующий требованиям крепеж обеспечивает структурную целостность террасы. Прочная терраса зависит от качественных крепежных элементов.
Как лучше всего прикрепить стойку ограждения террасы к настилу?
Строитель крепит стойку ограждения террасы к каркасу настила, а не только к его доскам. Он использует два каретных болта или сквозных болта диаметром 1/2 дюйма. Этот метод обеспечивает необходимую прочность для безопасности террасы.
Нужна ли шайба под головкой болта?
Нет, строитель не устанавливает шайбу под куполообразную головку. Квадратная шейка должна врезаться непосредственно в древесину, чтобы предотвратить проворачивание. Шайба используется только со стороны гайки для любого проекта террасы.
Как строитель определяет, что болт затянут достаточно для террасы?
Строитель затягивает гайку до тех пор, пока шайба слегка не вдавится в древесину. Для террасы чрезмерная затяжка может раздавить древесные волокна и ослабить соединение. Цель — плотная посадка, создающая надежное зажимное усилие для настила.
Что делать, если сверло немного больше болта?
Строитель не должен использовать слишком большое сверло. Увеличенное отверстие позволяет болту проворачиваться и не дает квадратной шейке зацепиться за дерево. Это создает непрочное, ненадежное соединение, что особенно опасно для террасы.
Существуют ли особые правила для стоек ограждения террасы?
Да, местные строительные нормы диктуют требования к крепежу. Строитель всегда должен сверяться с местными требованиями норм для стоек ограждения террасы перед началом проекта. Эти правила обеспечивают безопасность и устойчивость всей конструкции террасы.