The safe installation of expansion bolts in a steel structure demands a precise, five-step installation process. An installer first selects the correct bolt, choosing from standard Anchor Bolts or custom anchor bolts from a reputable custom fasteners manufacturer. They then prepare the steel by drilling and cleaning the hole. The process continues with correct insertion, precise torque application, and a final inspection. This methodical approach ensures structural integrity and overall safety.
Understanding the Mechanics of Expansion Bolts in Steel
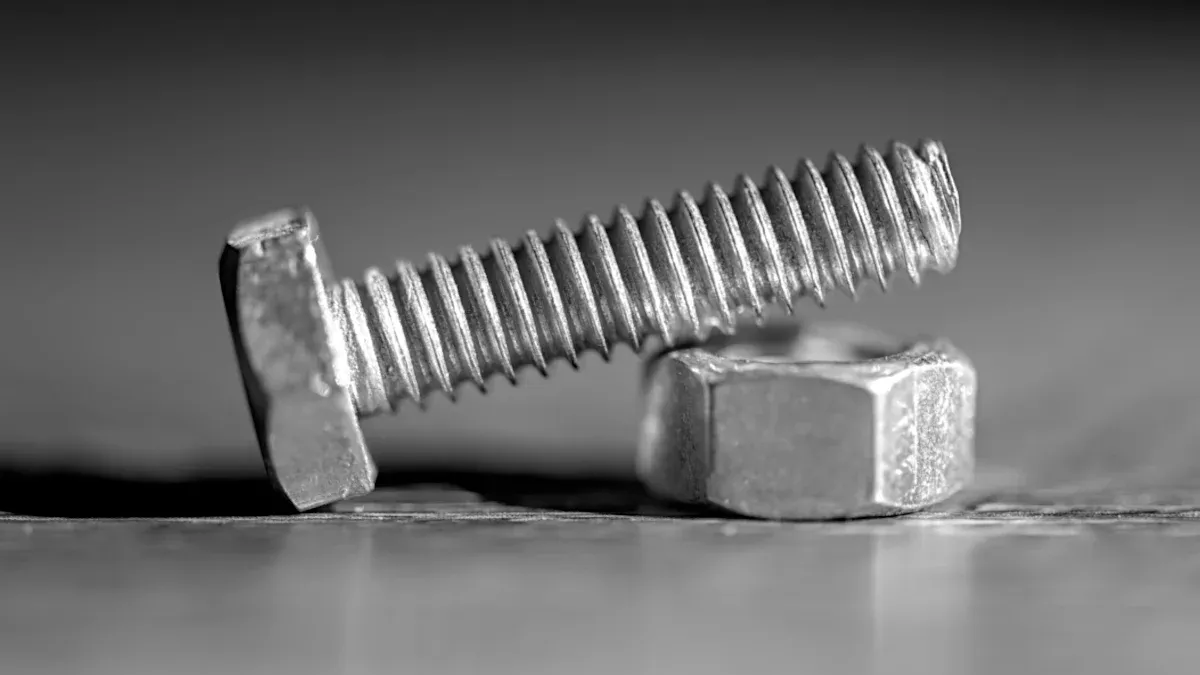
Effective use of expansion bolts begins with a solid understanding of their mechanical principles. These fasteners do not function like simple nuts and bolts; they create a powerful connection by converting rotational force into immense outward pressure. This mechanism is especially critical when working with a rigid material like steel.
How Expansion Bolts Create Frictional Force
The holding power of an expansion anchor is entirely dependent on generating massive frictional force inside the drilled hole. This process transforms the upward pull on the bolt into a secure, locked connection.
The Role of the Expansion Sleeve or Wedge
The core of the mechanism involves a sleeve or wedge that expands radially. The process follows a clear mechanical sequence:
- An installer tightens the nut on the threaded bolt.
- This action pulls a tapered expander plug up into the expansion sleeve.
- The conical shape of the plug forces the sleeve walls to flare outward.
- This expansion presses the sleeve firmly against the hole wall, generating the friction needed to lock the anchor in place.
Transferring Tension into Clamping Force
The outward pressure from the expanded sleeve creates tremendous static friction against the base material. This friction is the primary force that resists pull-out and shear loads. The harder the sleeve pushes outward, the greater the frictional resistance along its length. This action effectively converts the tension applied during tightening into a powerful clamping force that secures the fixture.
Why Steel Presents Unique Challenges
While the principles are the same, applying them to steel introduces challenges not found in materials like concrete. The properties of the base material directly impact the anchor’s performance.
The Non-Porous Nature of Steel vs. Concrete
Concrete and masonry are porous materials. An expanding sleeve can press into small imperfections and pores, creating a mechanical interlock or “keying” effect that adds to its holding power. Steel, however, is non-porous and smooth.
Note: With steel, the connection relies almost exclusively on pure friction. There is no secondary mechanical interlock, making precise hole diameter and proper torque absolutely critical for a safe installation.
Risks of Material Deformation and Stress
Applying excessive torque to an anchor in steel can have severe consequences. Unlike concrete, which may spall or crack locally, steel can deform or yield under extreme point loads. Over-tightening can stretch the bolt beyond its elastic limit, permanently damaging it. It can also create high stress concentrations in the surrounding material, potentially compromising the structural integrity of the member itself.
Choosing the Right Expansion Bolts for Steel Structures

Selecting the correct expansion bolts is the first and most critical step for ensuring a safe connection in a steel structure. An installer must evaluate load requirements, environmental factors, and material compatibility to choose the right anchor for the job.
Match Bolt Type to Load Requirements
The forces acting on the connection dictate the required strength of the anchor bolts.
Calculate Tensile and Shear Strength
Engineers calculate the tensile (pull-out) and shear (side-to-side) forces the connection must withstand. The selected anchor must have a rated strength that exceeds these calculated loads with a significant safety factor.
Differentiate Static vs. Dynamic Loads
A static load is constant, like the weight of a permanently mounted piece of equipment. A dynamic load changes over time, such as forces from moving machinery. Dynamic loads require an anchor with superior fatigue resistance.
Account for Vibrational Forces
Vibrations can cause a standard anchor to loosen over time. For applications with significant vibration, installers should choose anchor bolts specifically designed to resist these forces, ensuring long-term connection integrity.
Review Manufacturer Load Capacity Charts
Manufacturers provide detailed charts listing the load capacities for their anchor bolts. An installer must consult these charts to verify that a specific anchor meets the project’s strength requirements for both tensile and shear forces.
Ensure Material Compatibility and Environmental Resistance
The anchor material must be compatible with the steel and the surrounding environment to prevent premature failure.
Prevent Galvanic Corrosion with Steel
Galvanic corrosion can destroy a connection when dissimilar metals are in contact. This electrochemical process requires three conditions:
- Two or more different metals (e.g., stainless steel and carbon steel).
- Direct electrical contact between the metals.
- The presence of an electrolyte, like moisture.
For example, using a stainless steel anchor bolt in a carbon steel member can cause the steel around the anchor to corrode, compromising the connection’s strength.
Select Stainless Steel for Corrosive Environments
For environments with high humidity, salt spray, or chemical exposure, stainless steel anchor bolts offer excellent corrosion resistance. This makes them a reliable choice for coastal, marine, or industrial applications.
Use Hot-Dip Galvanized Bolts for Moisture
In damp or humid conditions, hot-dip galvanized anchor bolts provide a protective zinc coating. This coating must comply with industry standards like ASTM F2329, which is specific to fasteners, to ensure adequate protection for the bolt.
Assess Chemical and Temperature Exposure
Extreme temperatures or exposure to harsh chemicals can degrade the material of an anchor. An installer must select an anchor with a material composition and strength rating suitable for the specific service temperature and chemical environment.
Common Types of Anchor Bolts for Steel
Different anchor designs are suited for various applications.
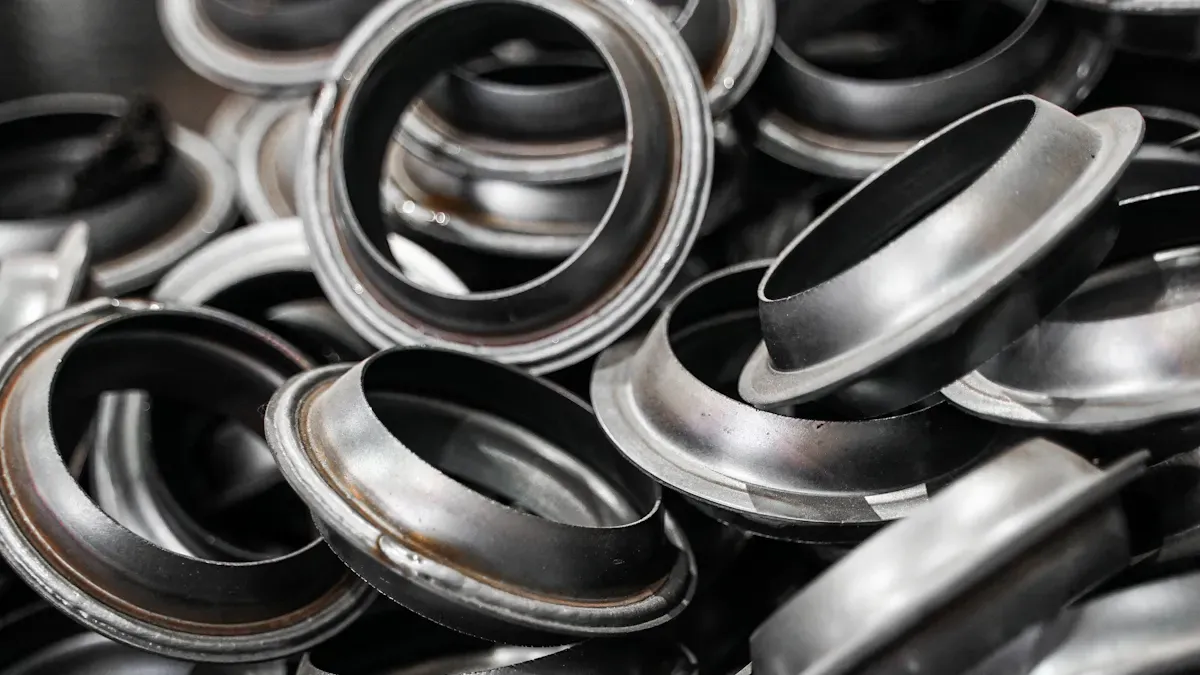
Sleeve Anchors
A sleeve anchor is a versatile anchor that expands along its entire length, distributing the load over a large surface area. This design makes it a reliable anchor for many general-purpose applications in steel.
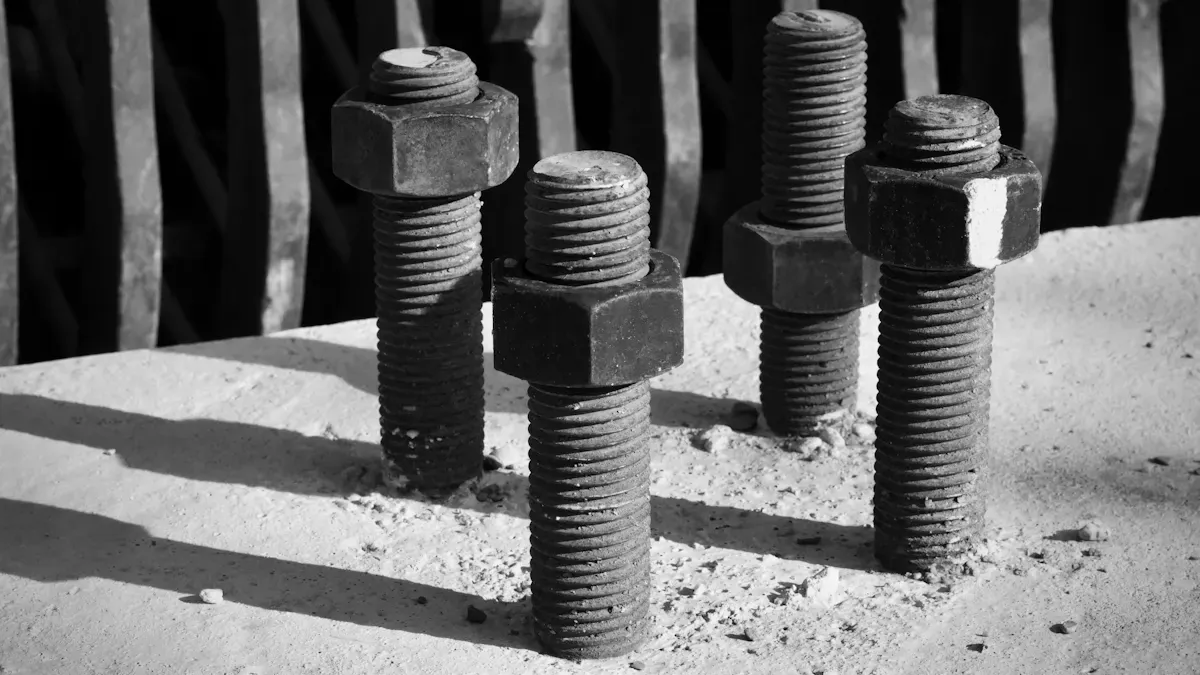
Wedge Anchors
A wedge anchor provides extremely high holding power. Tightening the nut pulls a clip up a tapered cone, wedging it tightly against the steel. This anchor is ideal for heavy-duty fastening.
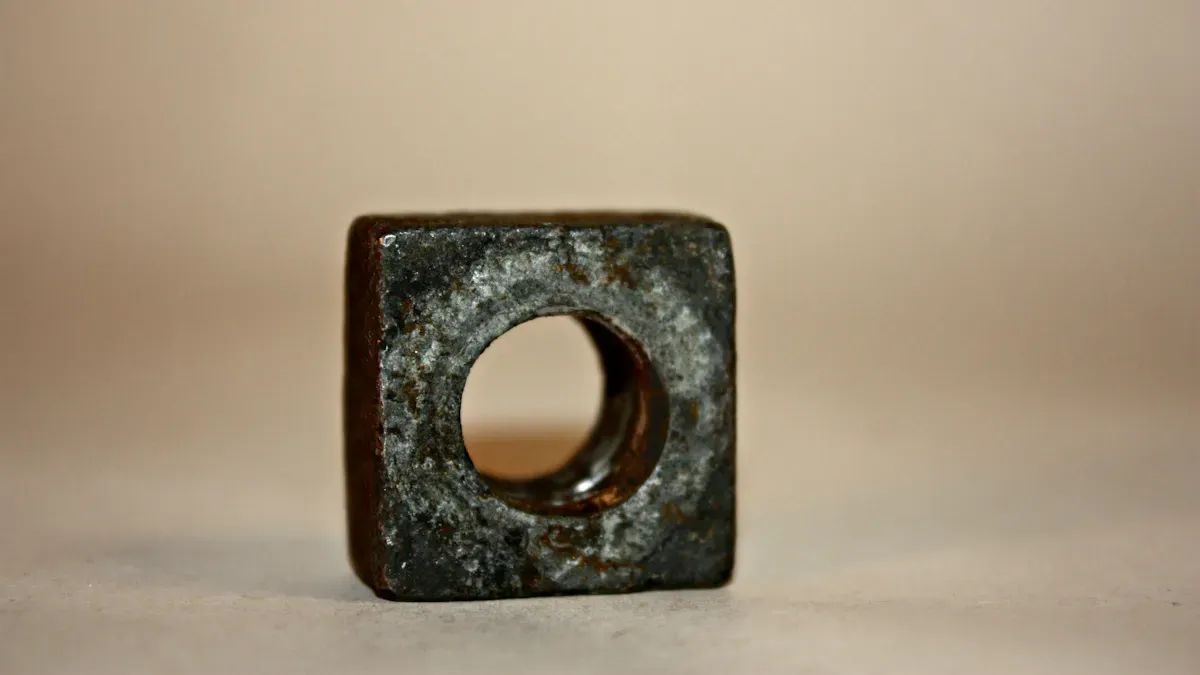
Drop-In Anchors
A drop-in anchor sits flush with the surface of the steel. An installer uses a setting tool to expand the anchor inside the hole. This type of anchor is useful when a flush finish is required.
High-Tensile Strength Anchor Bolts
For the most demanding applications, high-tensile strength anchor bolts provide maximum load capacity. These specialized anchor bolts are engineered for critical connections that experience extreme tensile and shear forces.
Precise Hole Preparation in Steel Members
After selecting the correct anchor, the installer’s focus shifts to creating a perfect hole. The performance of an expansion anchor is directly tied to the quality of the hole drilled into the steel member. This step requires precision, the right tools, and meticulous cleaning to achieve the necessary holding strength.
Drill the Hole to Exact Specifications
The drilling process sets the foundation for the entire connection. Any deviation from the manufacturer’s requirements can compromise the anchor’s integrity.
Verify Manufacturer’s Required Drill Bit Size
An installer must always use the exact drill bit diameter specified in the anchor’s technical data sheet. A bit that is even slightly too large or too small will prevent the anchor from functioning as designed.
Ensure Drill Bit is Sharp and Undamaged
A sharp, high-quality drill bit cuts cleanly and efficiently. A dull or damaged bit can wander, overheat, or create a tapered hole, all of which negatively impact the final connection.
Use Techniques for Perpendicular Drilling
The hole must be perfectly perpendicular to the steel surface. A non-perpendicular hole can misalign the fixture and introduce unintended bending forces on the anchor. Installers use several techniques to ensure accuracy:
- Use a Spotting Drill: A short, rigid spotting drill creates a precise starting point, preventing the main drill bit from wandering.
- Employ a Pecking Technique: Drilling a short distance (e.g., 1/4 inch), retracting the bit to clear chips, and then continuing helps maintain a straight path.
Maintain a Perfectly Cylindrical Hole
The final hole must be a perfect cylinder from top to bottom. This uniform shape ensures the expansion sleeve makes consistent contact along its entire length, which is essential for developing full holding power.
Control Hole Depth and Diameter Tolerances
The hole’s dimensions must be within strict tolerances. Both depth and diameter are critical for a secure installation.
Use a Drill Depth Stop for Consistency
To ensure every hole is at the correct depth, an installer should use a drill with a depth stop or a marked drill bit. Consistent depth is crucial for achieving the specified embedment.
Measure Hole Diameter with Calipers
After drilling, an installer can use calipers to verify the hole’s diameter. This quality control check confirms the correct bit was used and that the hole is not oversized.
Critical Warning: An improperly sized hole is a primary cause of anchor failure. There is no substitute for measuring and verifying hole dimensions.
Consequences of an Oversized Hole
An oversized hole is a critical error. It prevents the expansion sleeve from making firm contact with the hole wall, drastically reducing the anchor’s frictional grip and overall strength.
Risks of an Undersized or Tapered Hole
An undersized or tapered hole will prevent the bolt assembly from being inserted to the correct depth. Attempting to force it can damage the anchor’s expansion mechanism or the threads.
Clean the Hole for Maximum Strength
A clean hole is non-negotiable for achieving maximum strength. Debris, dust, and cutting fluids act as lubricants, severely reducing the friction the anchor can generate.
Use a Correctly Sized Wire Brush
An installer must scrub the inside of the hole with a stiff wire brush matching the hole’s diameter. This action dislodges fine metal particles and residue from the hole walls.
Blow Out Debris with Oil-Free Compressed Air
After brushing, the installer uses oil-free compressed air to blow all loose debris out of the hole. This step should be repeated with brushing until the hole is completely clean.
Remove All Cutting Fluids and Residue
Any remaining cutting fluids or oils must be completely removed with a suitable solvent. These residues can significantly impair the anchor’s performance.
Perform a Final Visual Inspection of the Hole
The final step is a visual inspection to confirm the hole is clean, dry, and free of any imperfections. Only then is it ready for anchor installation.
Executing the Proper Installation Technique

With a perfectly drilled and cleaned hole, the installer’s focus shifts to correctly setting the anchor bolts and positioning the fixture. This stage requires careful handling and attention to detail to ensure the anchor functions as designed, creating a strong and reliable connection.
Set the Bolt to the Correct Embedment Depth
Embedment depth is the length of the anchor that is inserted into the base material. Achieving the correct depth is fundamental to the anchor’s load-bearing capacity.
Understand Minimum Embedment Requirements
Manufacturers specify a minimum embedment depth for each of their anchor bolts. This depth ensures the anchor has sufficient engagement with the steel to develop its full rated strength. Insufficient embedment depth means the anchor may not withstand heavy loads or sudden impacts, posing a significant safety risk. Inadequate embedment can lead to a reduced load-carrying capacity, which may result in failure under heavy loads or seismic events. An installer must always adhere to these minimums.
Mark the Bolt for a Visual Depth Guide
To guarantee accuracy, an installer should mark the required embedment depth on the side of the anchor before insertion. This simple visual guide provides an immediate confirmation that the anchor is set correctly. A piece of tape or a permanent marker works well for this purpose. This step eliminates guesswork and ensures consistency across multiple installations.
Insert the Bolt Assembly Smoothly
The installer should insert the anchor assembly into the prepared hole with a smooth, controlled motion. The anchor should slide in without excessive force. If the anchor binds or requires hammering, the installer must stop and investigate. The issue could be an undersized hole or remaining debris. Forcing the anchor can damage its expansion mechanism or threads.
Ensure Expansion Mechanism is Correctly Positioned
The expansion mechanism of the anchor must be fully contained within the hole. For wedge anchor bolts, the expansion clip must be below the surface of the steel. For sleeve anchor bolts, the entire expansion sleeve must be embedded. Correct positioning is essential for the anchor to expand properly and generate the necessary frictional force.
Position the Fixture and Set the Nut
Once the anchor is at the correct depth, the next step is to secure the fixture. This involves placing the object to be fastened and preparing the anchor for final tightening.
Place the Fixture Over the Bolt
The installer carefully places the fixture over the protruding threaded end of the anchor. The hole in the fixture should align perfectly with the anchor. Any misalignment can introduce unwanted side loads on the bolt, potentially compromising the connection’s integrity.
Seat the Washer and Nut Correctly
After positioning the fixture, the installer places the washer over the anchor, followed by the nut. The washer plays a crucial role by distributing the clamping force from the nut over a wider area of the fixture, preventing damage to its surface. The nut should thread onto the anchor smoothly.
Hand-Tighten to a Snug-Tight Condition
The installer then tightens the nut by hand until it is snug. The Research Council on Structural Connections (RCSC) defines a ‘snug-tight’ condition as the tightness achieved when a bolt connects two steel plies with firm contact and no space between them. This is the point where the full effort of a worker using a standard spud wrench brings all surfaces into firm contact. The goal is to remove any slack in the connection before applying final torque.
Check for Gaps Between Fixture and Steel
A final check is necessary before torquing. The installer must visually inspect the connection to ensure there are no gaps between the fixture and the steel surface.
Important: A gap indicates that the fixture is not seated properly. Tightening the nut with a gap present can bend the fixture or the anchor, creating a weak and unsafe connection. The installer must resolve any gaps before proceeding to the next step of applying torque to the expansion bolts.
Applying Correct Torque for Secure Fastening
Applying the correct amount of torque is the step that transforms a properly placed anchor into a secure, load-bearing connection. This process is not about simple tightening; it is a precise engineering application that develops the necessary clamping force. Using the right tool and technique is essential for activating the anchor’s expansion mechanism correctly and ensuring the long-term safety of the structure.
Use a Calibrated Torque Wrench
A torque wrench is a precision instrument designed to apply a specific rotational force. For structural connections, its use is non-negotiable.
Why Standard Wrenches Are Unsuitable
Standard spud or adjustable wrenches are unsuitable for final tightening because they provide no way to measure force. An installer relying on “feel” can easily over-tighten or under-tighten an anchor, leading to a compromised connection. The proper application of torque requires a measurable and repeatable process that only a dedicated torque wrench can provide.
Types of Torque Wrenches for Steelwork
Installers have several types of torque wrenches at their disposal, each with different levels of accuracy and usability. Digital wrenches offer the highest precision, which is often required for critical connections.
| Feature | Beam Wrench | Click-Type Wrench | Digital Torque Wrench |
|---|---|---|---|
| Typical Accuracy | ±3% to ±5% of full scale | ±4% of indicated value | ±1% to ±2% of reading or better |
| Resolution | Low (Analog Scale) | Moderate (Scale Graduations) | High (Digital Readout) |
| Readability | Prone to Parallax Error | Good for Setting, No Live Readout | Excellent, Clear Digital Display |
The Importance of Regular Calibration
A torque wrench is only as good as its last calibration. Over time and with repeated use, these tools can lose their accuracy. Regular calibration against a known standard is a critical quality control measure. It verifies that the force indicated by the wrench is the force being delivered to the fastener, ensuring every installation meets safety specifications.
Set the Wrench to Manufacturer Specifications
Before tightening, the installer must consult the anchor manufacturer’s technical data sheet for the required installation torque value. He or she then sets the calibrated torque wrench to this exact specification. Using a generic value or guessing is a direct path to installation failure.
The Torque Application Process
The physical act of applying torque must be performed with a deliberate and consistent technique to achieve an accurate result.
Apply Torque in a Smooth, Continuous Motion
The installer should apply force to the wrench handle in a single, smooth, and continuous motion. Jerky movements or stopping and starting can lead to an inaccurate torque reading and improper anchor setting. A steady pull allows the anchor’s expansion mechanism to engage uniformly.
Recognize the “Click” on a Click-Type Wrench
When using a click-type wrench, the installer tightens until the wrench produces an audible and tactile “click.” This signal indicates that the preset torque value has been reached.
Action Required: The installer must stop applying force immediately upon hearing the click. Continuing to tighten past this point will result in over-torquing.
Dangers of Over-Torquing the Bolt
Applying excessive torque pushes the fastener and the surrounding material beyond their design limits, causing permanent damage and creating a severe safety hazard. The effects of over-torquing include:
- Permanent Deformation: The bolt can be stretched beyond its yield strength, causing it to permanently elongate and weaken.
- Tensile Overload: The fastener can stretch to its breaking point, a condition known as “necking,” which often leads to a sudden fracture at a weak point like the thread root.
- Thread Damage: The threads on the anchor or nut can strip, completely losing their ability to maintain a clamping force.
- Component Warping: The excessive clamping force can dimple, warp, or deform the fixture or the steel member itself.
Risks of Under-Torquing and Low Clamping Force
Under-torquing is equally dangerous. Insufficient torque prevents the anchor’s wedges from expanding sufficiently against the wall of the hole. This failure to expand directly reduces the clamping force the anchor can generate. When a load is applied to this under-torqued connection, the lack of clamping force can cause the anchor to displace or the fixture to lift away from the surface, signaling an imminent and catastrophic failure.
Differentiate Torque Methods
While most expansion anchor installations use a standard torque value, installers should be aware of different methodologies used in structural steelwork.
Standard Torque Application
This is the most common method for expansion anchors. The installer tightens the fastener to a specific torque value provided by the manufacturer. This application ensures the anchor is properly set without being stressed beyond its elastic limit, allowing for potential future removal or retightening.
The Torque-to-Yield Concept
Torque-to-yield is an advanced tightening method where a fastener is intentionally torqued beyond its elastic limit and into its plastic zone. This process permanently stretches the fastener to achieve the maximum possible clamping force for that specific connection.
When to Use Torque-to-Yield Method
This method is typically reserved for high-strength structural bolts in critical frame connections, not for standard expansion anchors. A fastener tightened using this application cannot be reused. Using this technique on an anchor not designed for it will cause immediate failure.
Always Follow Engineer of Record Specifications
Ultimately, the controlling document for any installation is the project’s structural drawings and specifications. The Engineer of Record determines the appropriate anchor, embedment depth, and torque requirements for every connection. An installer must always prioritize these project-specific instructions over general guidelines to ensure the integrity of the steel structure.
Post-Installation Inspection and Quality Control
The installation process does not end when the wrench stops turning. A rigorous inspection and quality control phase is essential to verify the connection’s integrity and ensure long-term structural safety. This final step provides documented proof that each anchor meets project specifications.
Conduct a Visual Inspection
A careful visual check can reveal immediate problems with an installation. An inspector looks for several key indicators of a successful or failed connection.
Confirm Full Washer-to-Surface Contact
The inspector verifies that the washer sits perfectly flat against the fixture. A gap under the washer indicates an uneven surface or a bent bolt, which prevents uniform load distribution and compromises the connection’s strength.
Verify Correct Embedment Depth Marker
The inspector checks the visual depth marker made during installation. This confirms the anchor is set to the manufacturer’s required depth, which is critical for achieving its full rated strength.
Inspect Steel Surface for Deformation or Cracking
The inspector examines the steel surface around the anchor for any signs of dimpling, warping, or cracking. Such damage suggests over-torquing and a potential loss of material strength.
Check for Damaged Threads or Bolt Head
The inspector looks for stripped threads or a rounded bolt head. These issues often point to improper tool use or excessive force, which can weaken the fastener and reduce its holding power.
Perform a Torque Verification Test
A torque verification test confirms that the correct clamping force was achieved during installation. This is a non-destructive method to audit the quality of the work.
When a Verification Test is Required
Project specifications or quality assurance plans often require a torque verification test on a percentage of installed anchors, especially for critical connections. It provides confidence in the overall installation quality.
Set the Torque Wrench to the Minimum Value
The inspector sets a calibrated torque wrench to the minimum required installation torque specified by the manufacturer. The goal is to verify the torque, not to tighten the anchor further.
Apply Torque Slowly in the Tightening Direction
The inspector applies pressure smoothly in the tightening direction. The test is successful if the fastener does not move before the wrench reaches the specified torque value.
Protocol if Bolt Moves Before Reaching Torque
Critical Failure: If the bolt turns before the wrench reaches the target torque, the installation has failed. This indicates insufficient clamping force. The anchor must be properly re-torqued or replaced.
Maintain Documentation for Quality Assurance
Thorough documentation creates a permanent record of quality control, ensuring accountability and compliance.
Keep a Detailed Installation Log
Inspectors maintain detailed torque logs to create a documented trail. This proves every critical connector was tightened to specification. For maximum strength and traceability, these logs should include:
- Project details and connection location
- Torque wrench calibration data
- Measured torque values and results
- Installer and inspector names or initials
- Bolt manufacturer, grade, size, and batch number
Document Torque Values and Inspector Initials
Each verified anchor should have its final torque value and the inspector’s initials recorded in the log. This creates a clear chain of responsibility for every connection.
The Role of Third-Party Special Inspections
For many projects, a third-party special inspector provides independent verification. Their responsibilities include:
- Confirming the correct fasteners are installed per the drawings.
- Verifying that installers follow manufacturer directions.
- Ensuring bolts are tightened to the specified tension to achieve design strength.
- Documenting the acceptance or rejection of completed connections.
Maintaining Lot Traceability Records
Keeping records of bolt lot numbers and manufacturer certifications is crucial. This allows an inspector to trace a fastener back to its origin if any material defects are discovered later.
Achieving a lasting connection with expansion bolts in steel is a result of a precise, methodical process, not guesswork. An installer ensures structural integrity and personnel safety by consistently executing five key steps:
- Correct Selection
- Precise Preparation
- Proper Installation
- Accurate Torque
- Final Inspection
Installers must always prioritize the manufacturer’s specifications and the project engineer’s requirements over shortcuts. Rigorous adherence to these procedures is the only way to guarantee a reliable connection, protecting the structure, the project, and ensuring total safety. This commitment to safety is non-negotiable.
FAQ
Can an installer reuse an expansion bolt?
No. An installer must never reuse an expansion bolt. The initial installation permanently deforms the expansion mechanism. Reusing the bolt prevents it from expanding correctly a second time, which creates a weak and extremely unsafe connection. Always use a new anchor for every installation.
What happens if the drilled hole is too large?
An oversized hole is a critical failure. It prevents the anchor’s sleeve from making firm contact with the steel wall. This drastically reduces the required frictional force, meaning the anchor cannot support its rated load and will likely fail under stress.
Why is cleaning the hole a critical step?
Debris and cutting fluids act as lubricants inside the hole. They severely reduce the friction between the expansion sleeve and the steel. A clean hole ensures maximum surface contact, allowing the anchor to achieve its full, rated holding power for a safe connection.
Can an installer use an impact wrench for final tightening?
No. An installer must not use an impact wrench for final tightening. These tools cannot apply a precise torque value and almost always lead to over-torquing.
An installer must use a calibrated torque wrench to apply the exact force specified by the manufacturer for a safe and reliable installation.
How does an installer choose between stainless steel and galvanized bolts?
An installer selects stainless steel for highly corrosive areas, such as coastal or chemical environments. They choose hot-dip galvanized bolts for general moisture and humidity resistance. The choice depends entirely on the specific environmental exposure to prevent corrosion and ensure long-term durability.
What is the most common cause of expansion anchor failure?
Improper installation is the most common cause of failure. This includes drilling an incorrectly sized hole, failing to clean the hole thoroughly, or applying the wrong torque value. Adhering to the manufacturer’s instructions for every step prevents these critical errors.